-
 Elite Chronicles: Rogues Guide To Elite Tindirin [The Wilds]
See the entire Elite Chronicles Series here: http://www.spacetimestudios.com/show...-Maps-of-Arlor
So, we've all heard about how supremely challenging these new elite maps are, and how only the "pros" with the best gear could ever dream of running these maps in a party, let alone solo. Well, I took it upon myself to prove that with the right strategy, even the worst crate gear and some level 36 Legendaries can solo one of these elite maps.
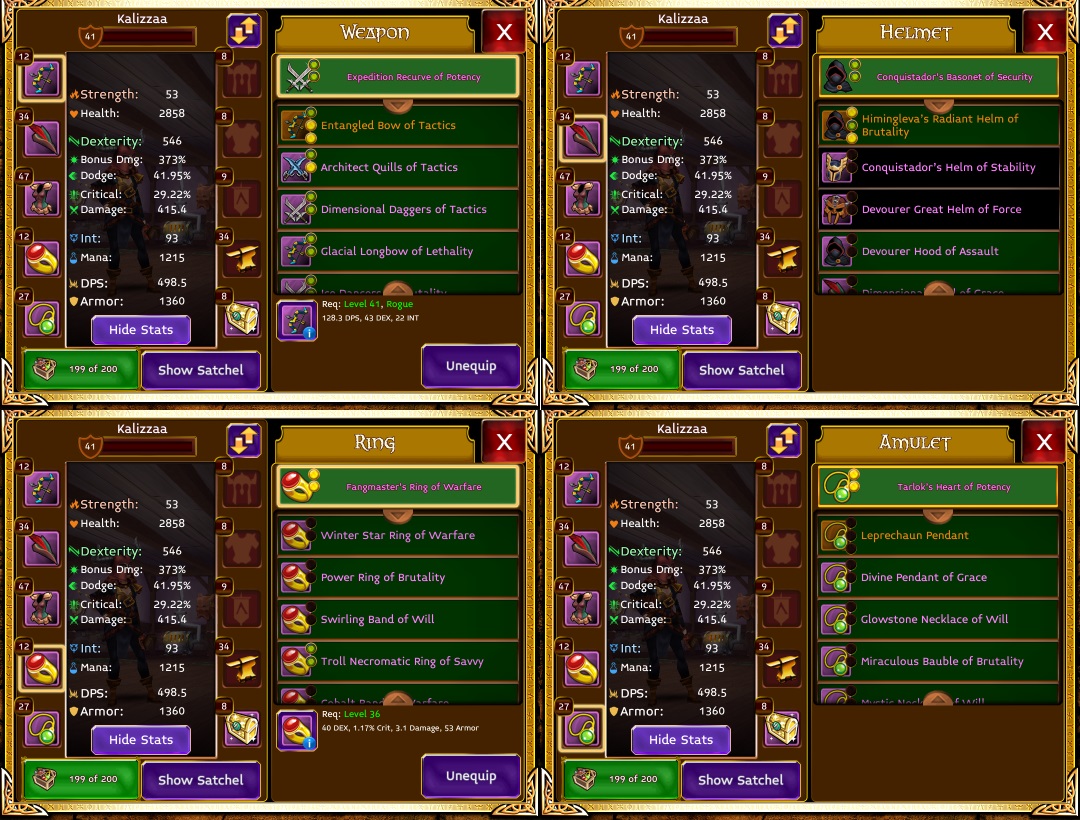
Below are a few screenshots of the gear I purchased strictly for this walkthrough. In this case, purchasing a bow, helm and armor cost me just under 51k - a reasonable amount for anyone that would even consider attempting to run an elite map, let alone solo.

So, with the gear purchased, in I went with my crate gear and some reasonably high quality level 36 gear. Note, I am not using any mythic items, not any items that I would consider unattainable by the mainstream player.
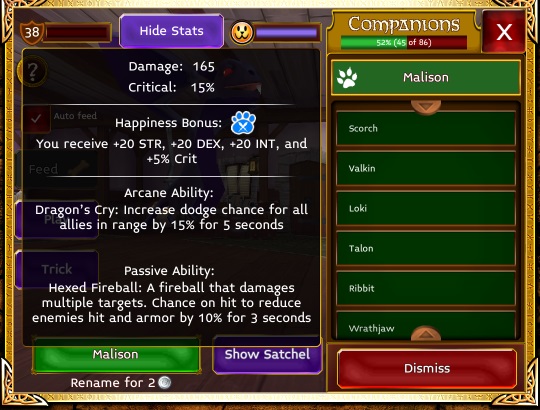
For my pet, I chose another highly attainable, yet very serviceable pet....our good friend Malison. His all around stat boost is more than worthwhile, and his 15% dodge bonus in conjunction with the buffs you receive from Shadow Veil make this a solid companion for your journey into the elite world of Tindirin.
So, here we are, note ahead, you see a cluster of five mobs. One archer, one shaman and three spear wielding melee mobs. In a party, you would probably just go right for all of them; however, in this case, since I am solo, and in what one would deem inferior gear, I will take a more conservative approach and utilize a separation tactic. Aggro any of these mobs, preferably the shaman, since that is the target we should be most concerned about. This will cause the entire group to chase after you.
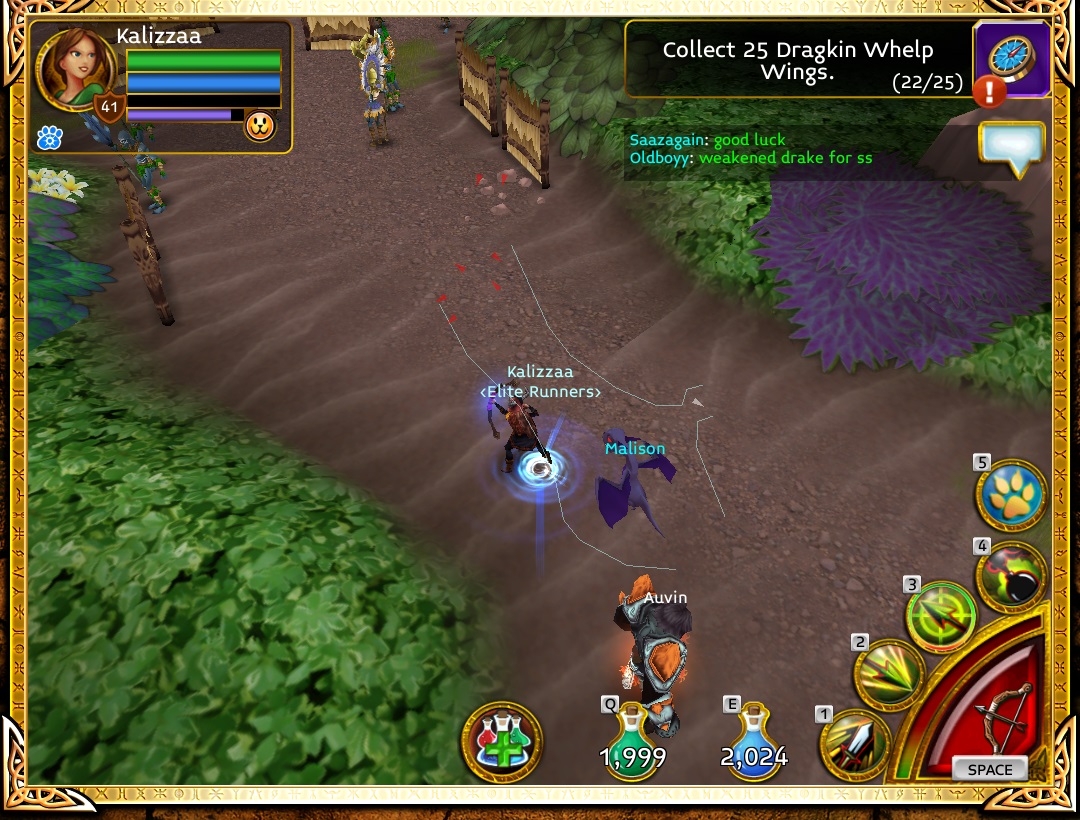
With the entire group chasing you, retreat back to the entrance of the map and the magic portal. Stand in the location pictured below. This is the reset point for melee mobs in the first pull, so you will effectively separate out just the ranged mobs, specifically the shaman and the archer.
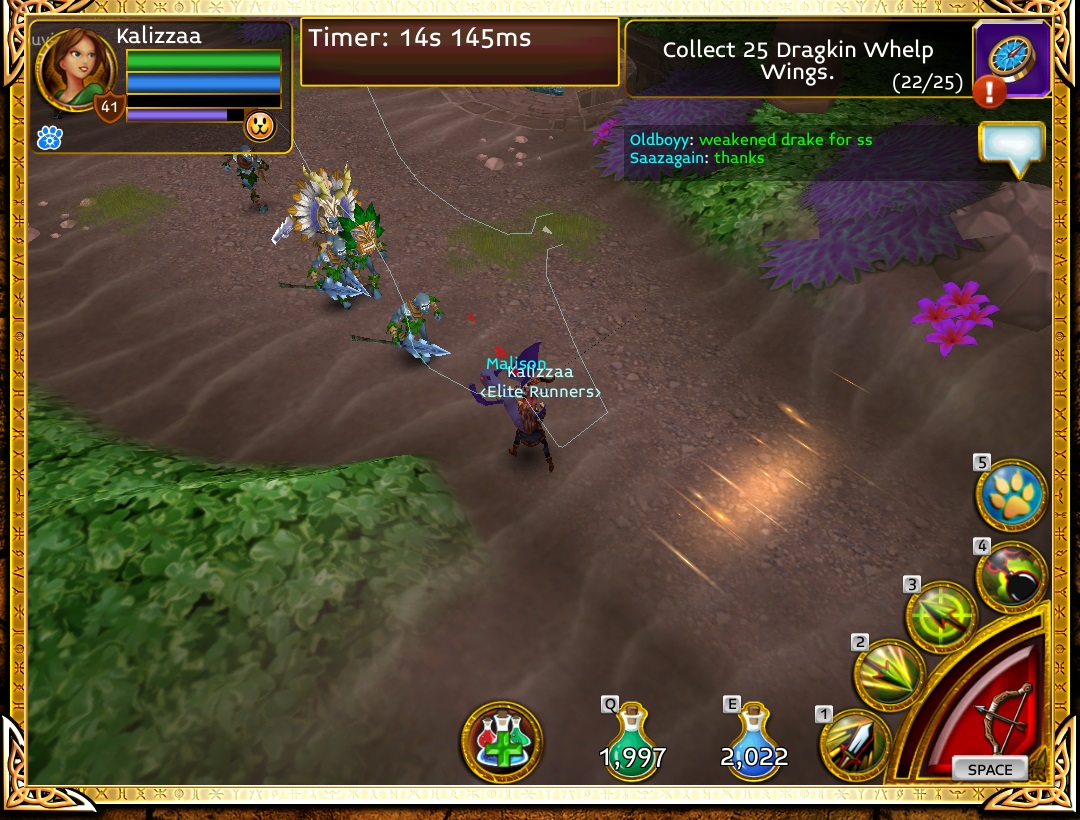
It is a delicate balance of maintaining aggro on just the shaman while not aggroing the archer. It may take a few attempts at first, but eventually, you will be one vs. one against the shaman. And, what do Rogues specialize in? 1v1 damage of course! Take out the shaman.
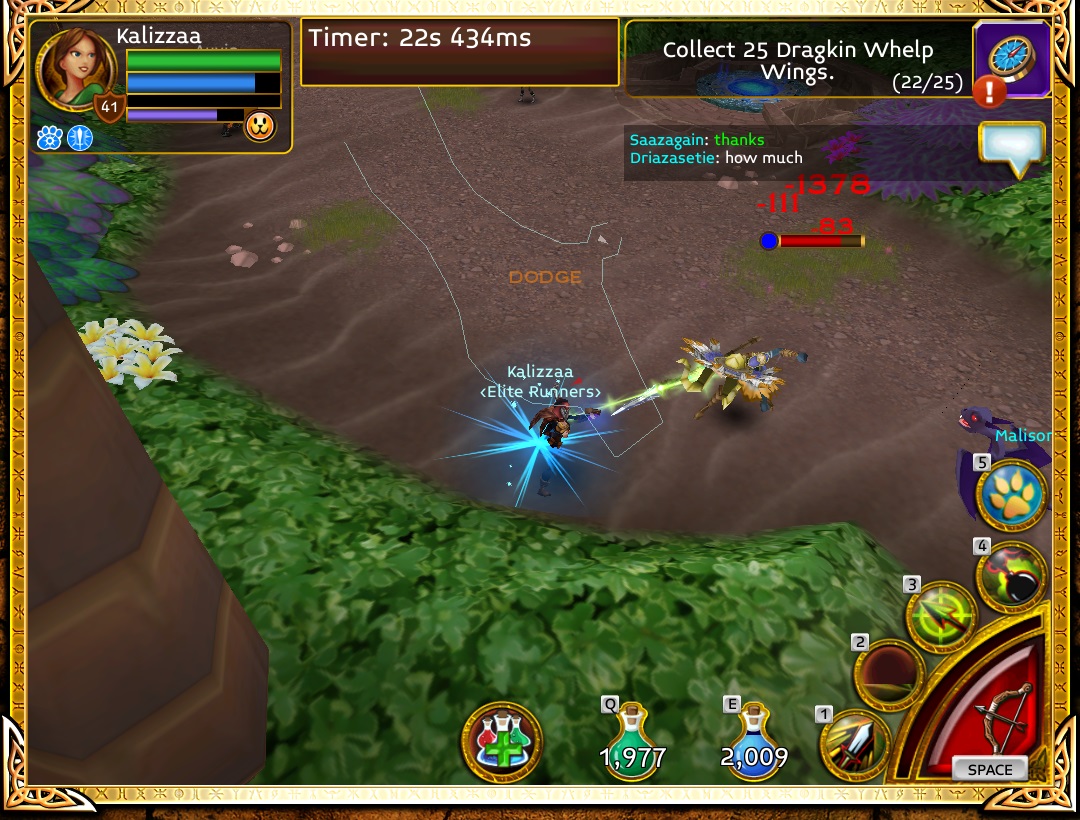
PRO TIP:
Shamans have three attack styles. A hard-hitting ranged attack, an intermediate, middling damage spear attack and a melee ranged windup stomp attack. Avoid the stop attack by minimizing your time in melee range against him. I have found that an Aimed, Nox, Pierce combo to be a very effective damage dealer; however, as soon as your Pierce lands, get out of melee range, because the shaman likes to do his windup stomp attack if you spend too much time in melee range. His stomp is a one hit kill for anything except well geared tanks.
With the shaman disposed of, we want to perform another separation to isolate just the archer. Aggro the group once again and retreat.
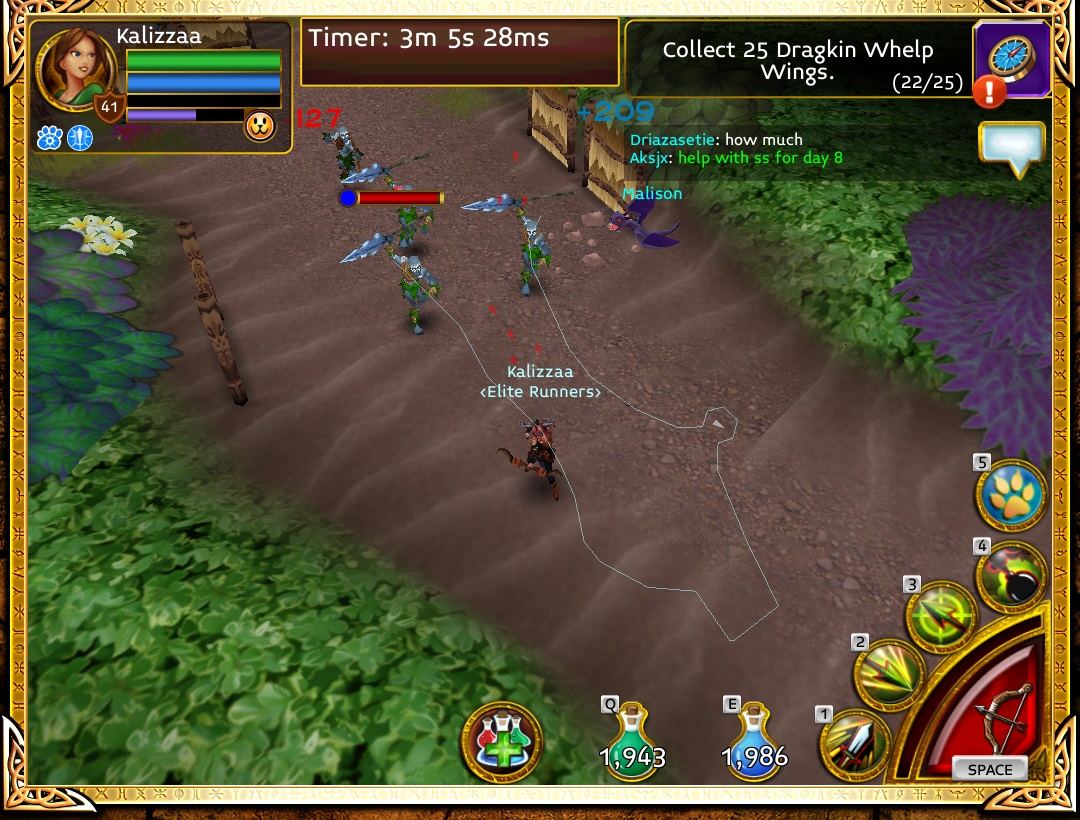
Retreat back to the melee reset point and be assertive in your attacks against the archer. The archer's damage can be high, but 1v1, he doesn't stand a chance.
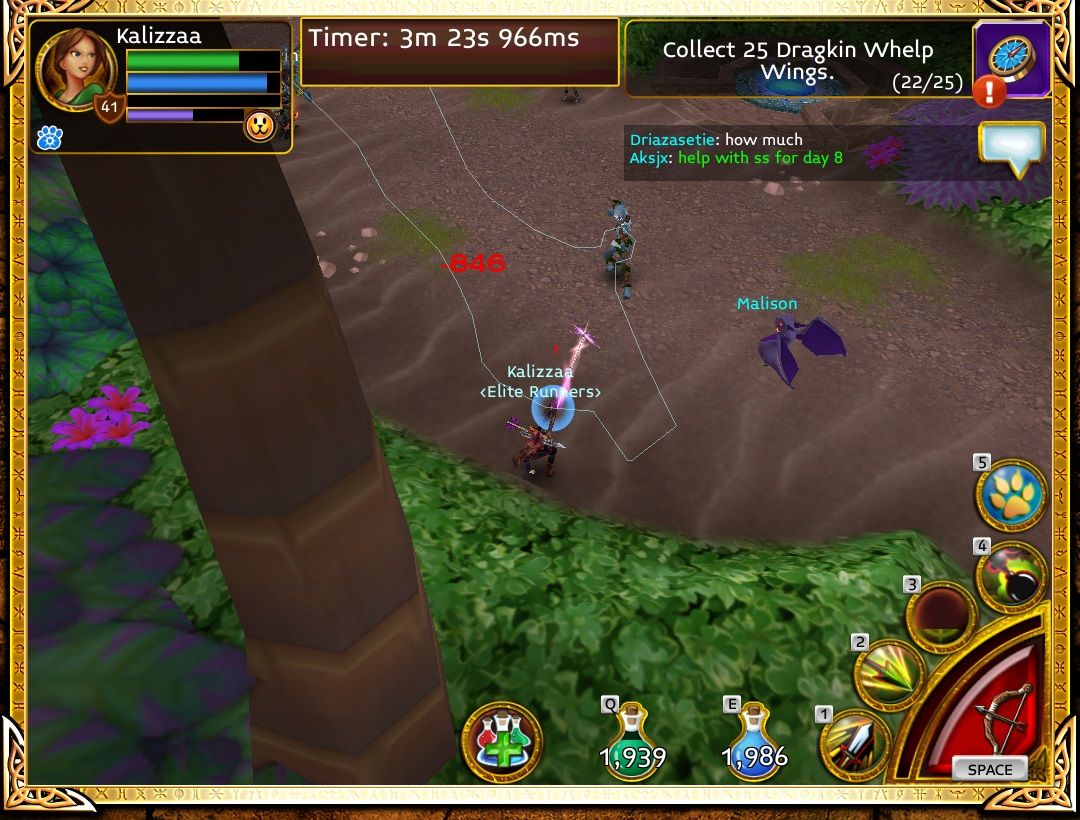
Patience is the key to minimizing deaths. Wait for one of the spear holding mobs to be isolated and fire off an attack to aggro one mob at a time.
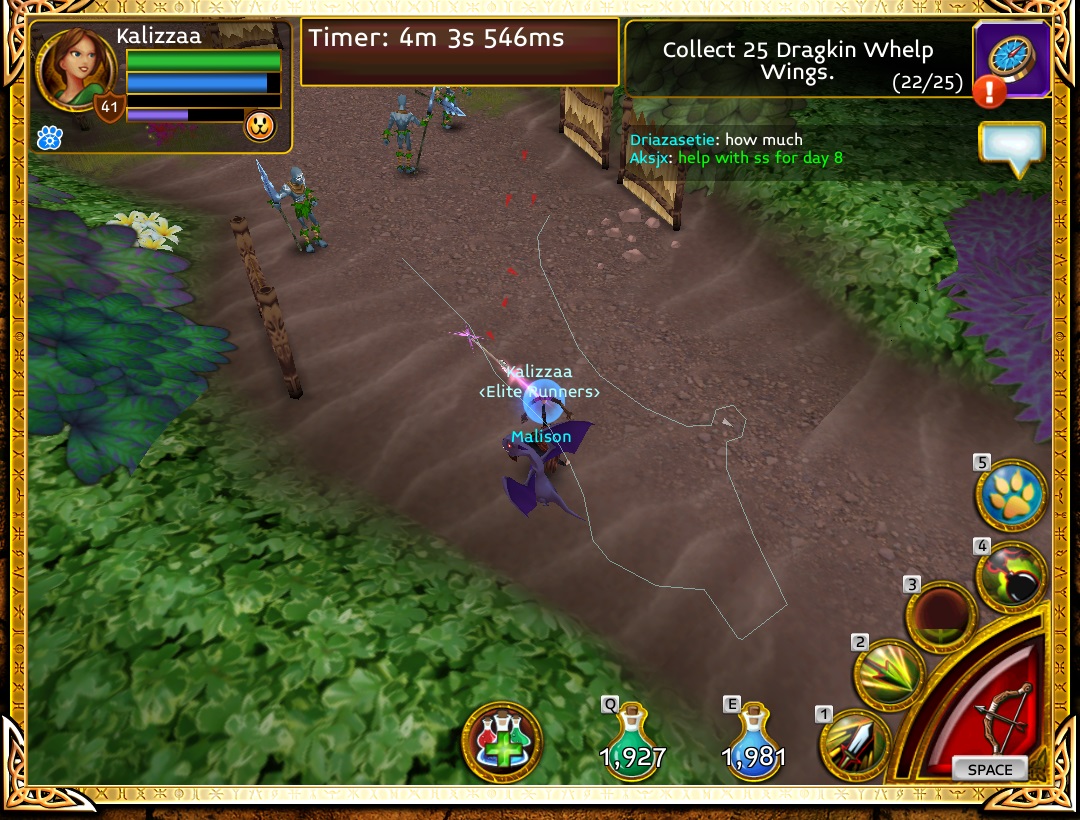
Once you have aggro, it is a good idea to retreat just a bit. You don't want an errant arrow to aggro the others, forcing you to either fight all three at once, or reset the group.
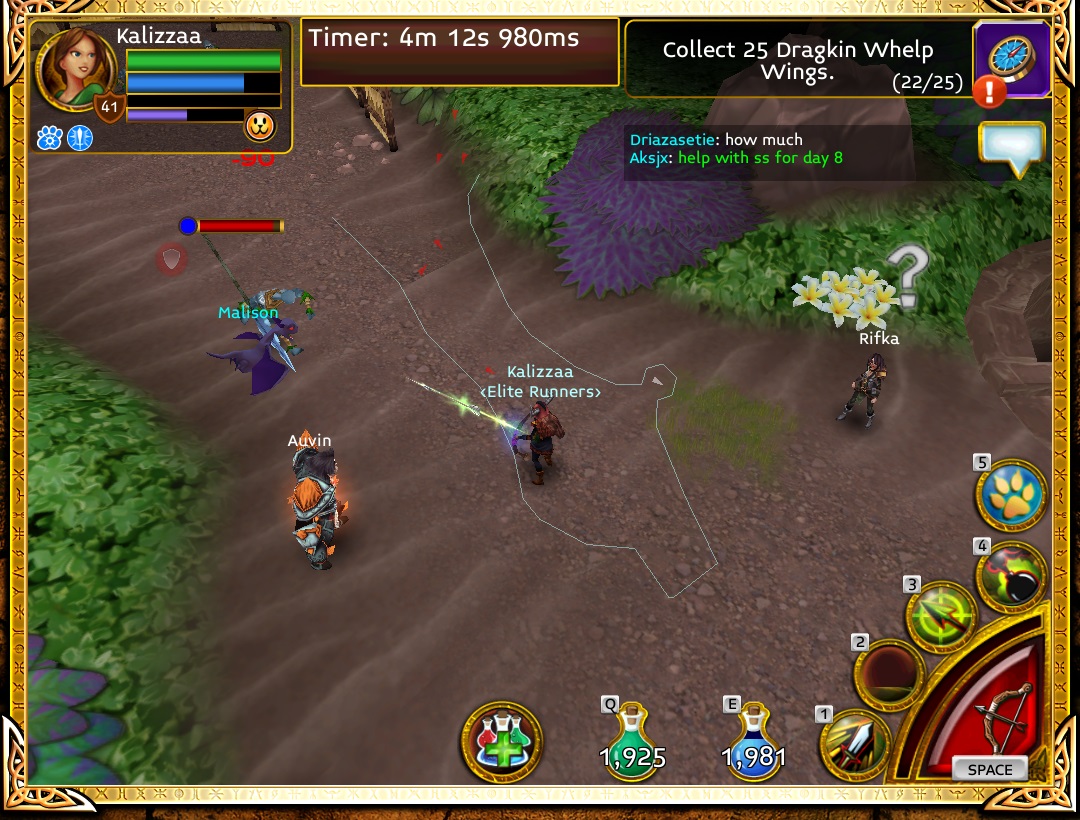
Repeat the attack as soon as the two mobs separate a bit. Once again, as soon as you achieve aggro, retreat back a few steps. You want to be in a 1v1 situation as often as possible. Once you have disposed of this spear holder, go ahead and move on to the third mob to clear this pull.
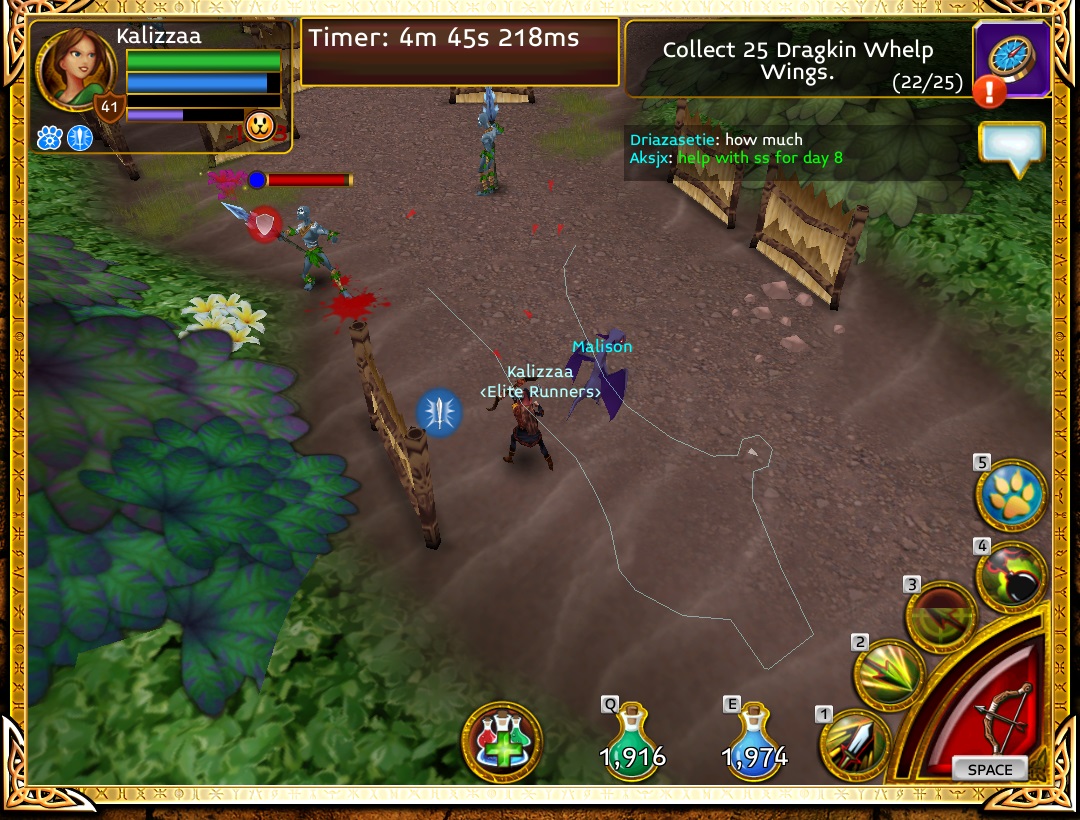
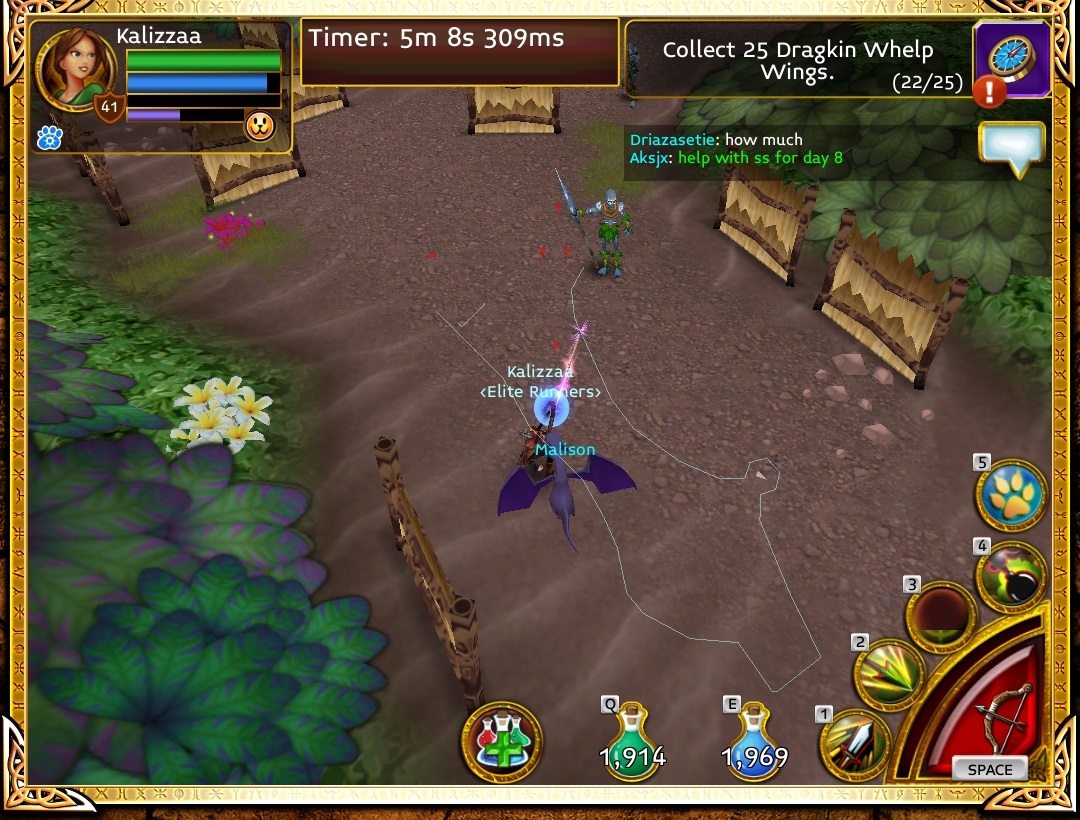
Next up, is a cluster of three archers. It is possible to aggro one at a time; however, chances are very high that you will aggro the two closest. Do not use Noxious Bolt in this pull as the AoE poison can aggro the third archer, so it is best to either used a charged bow attack or an Aimed Shot.
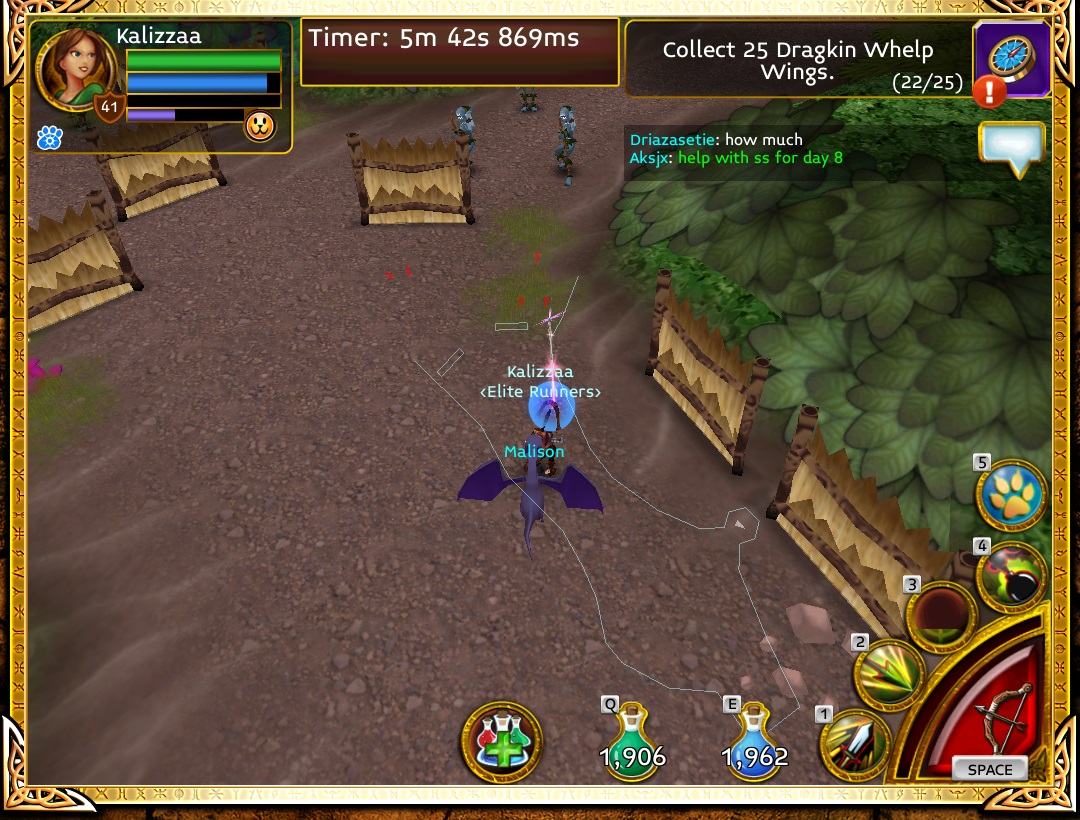
Once again, with aggro established, retreat to prevent any accidental guests to your fight. One rogue against two archers is a fair enough battle, so don't be too intimidated by them. As long as you drop a Shadow Veil and use Malison's Arcane Ability, you should be able to dodge, pot and attack long enough to take down one of the mobs
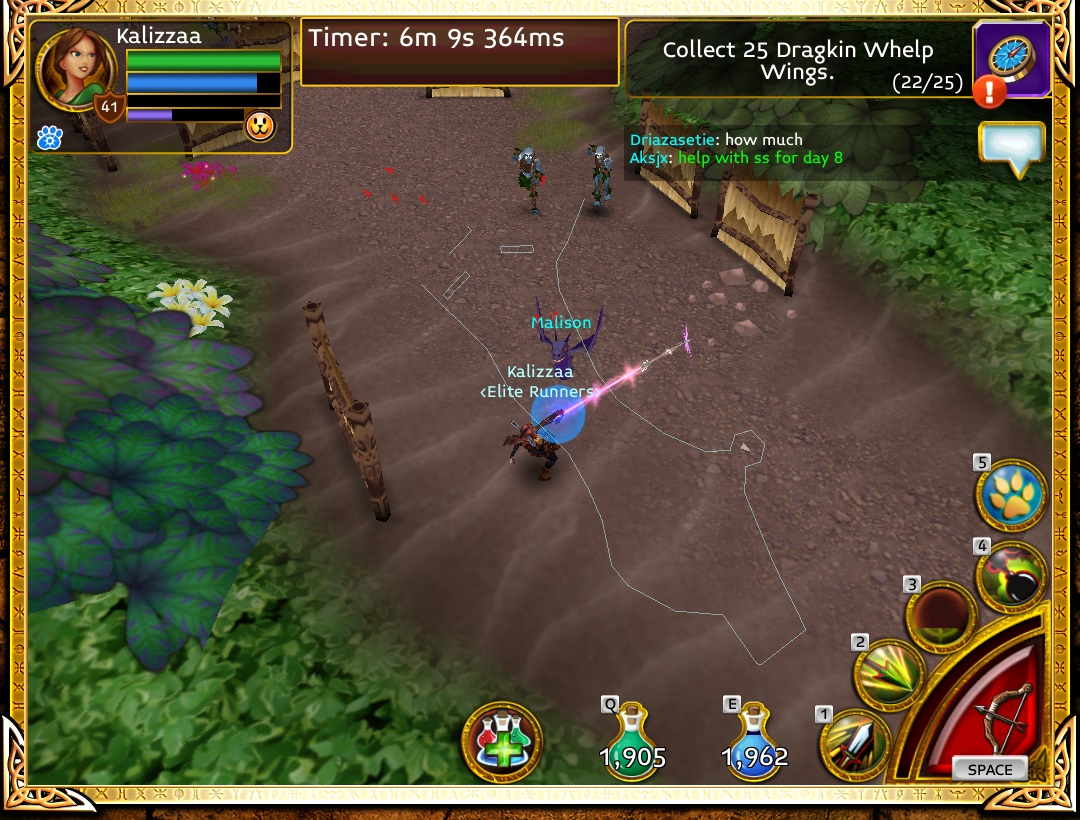
With the two archers out of the way, you are now set up for a 1v1 against the third archer. Easy peasy lemon squeezie.
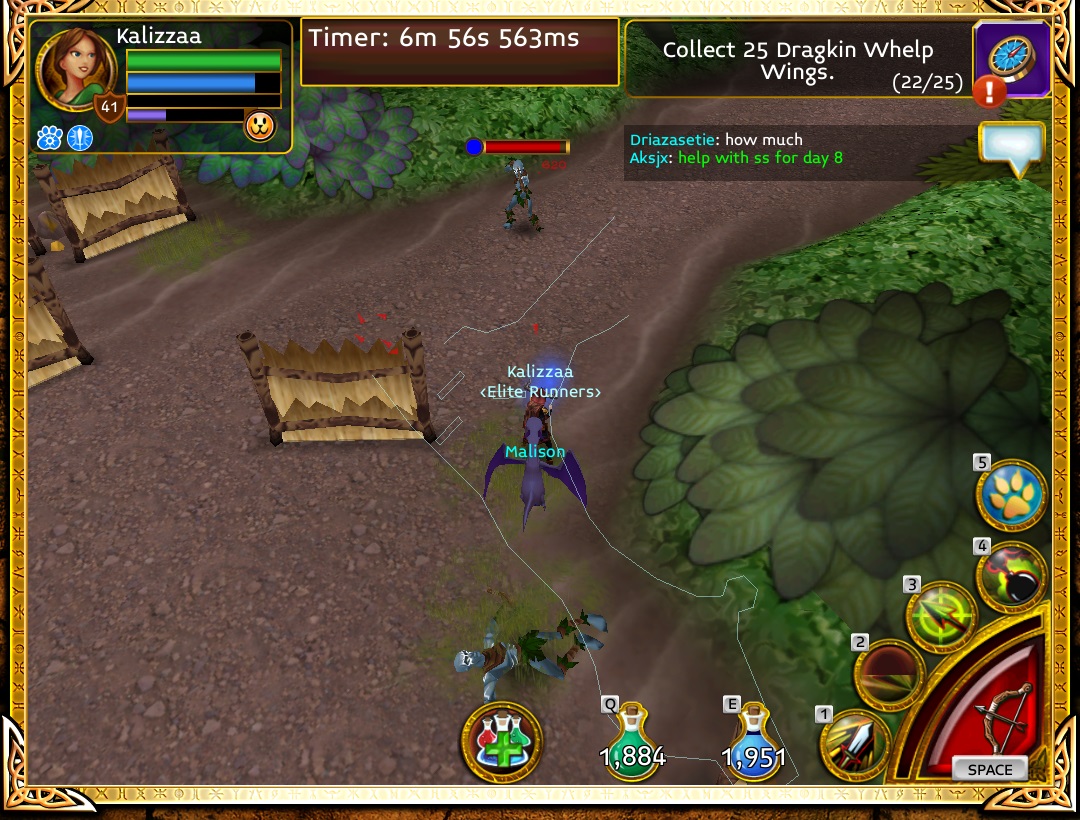
Next up, on the left behind the walls are a cluster of five mobs. One shaman, one archer and three melee spear holders. Go ahead and aggro the entire group and start retreating.
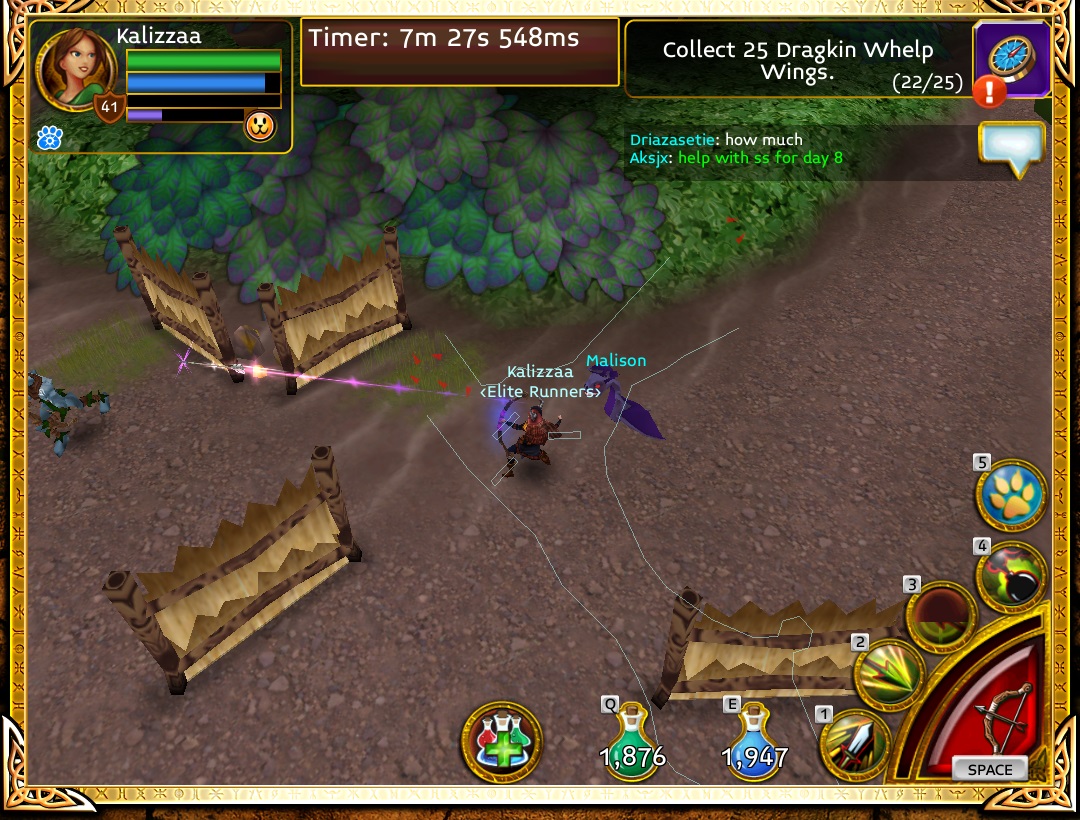
Retreat back to the melee reset point, which will separate the group, leaving you to face the shaman and archer. Again, focus your attacks on the shaman - he is your primary threat at this point and the one that is most likely to kill you. Drop a Shadow Veil and use Malison's arcane ability and don't forget to stay out of melee range as much as you can against the shaman. When the shaman has been handled, turn your attention towards the archer and dispose of him as well.
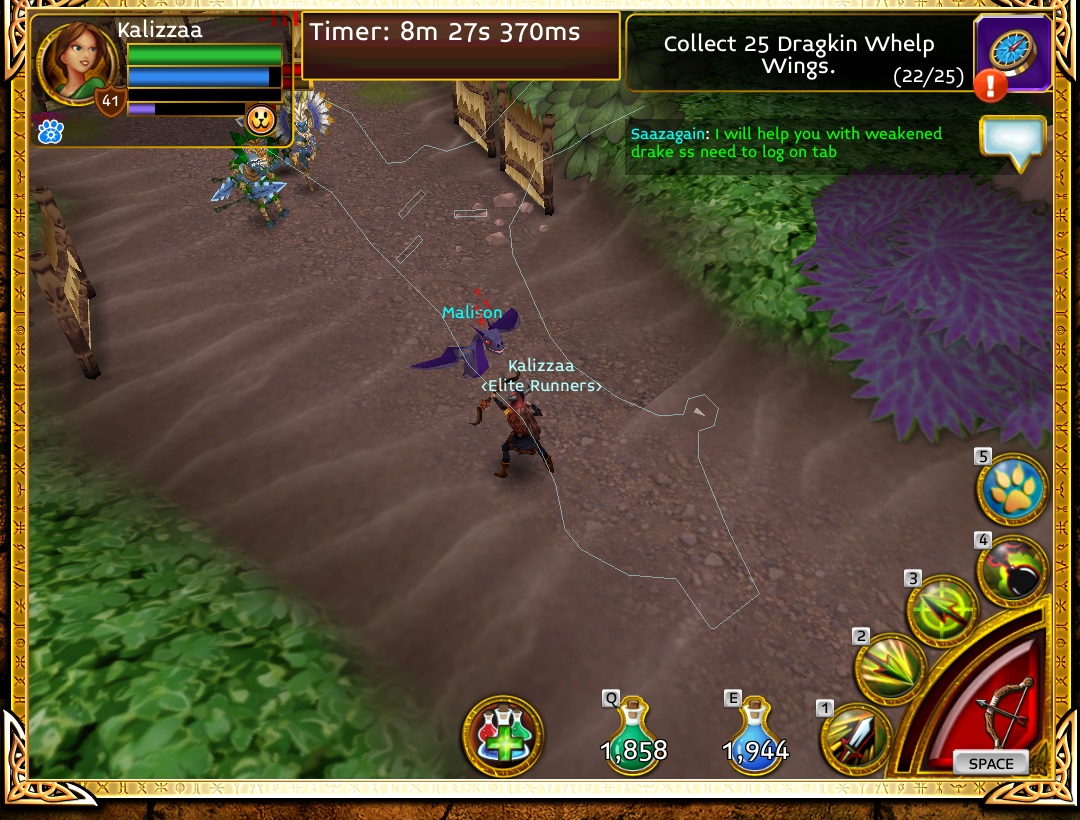
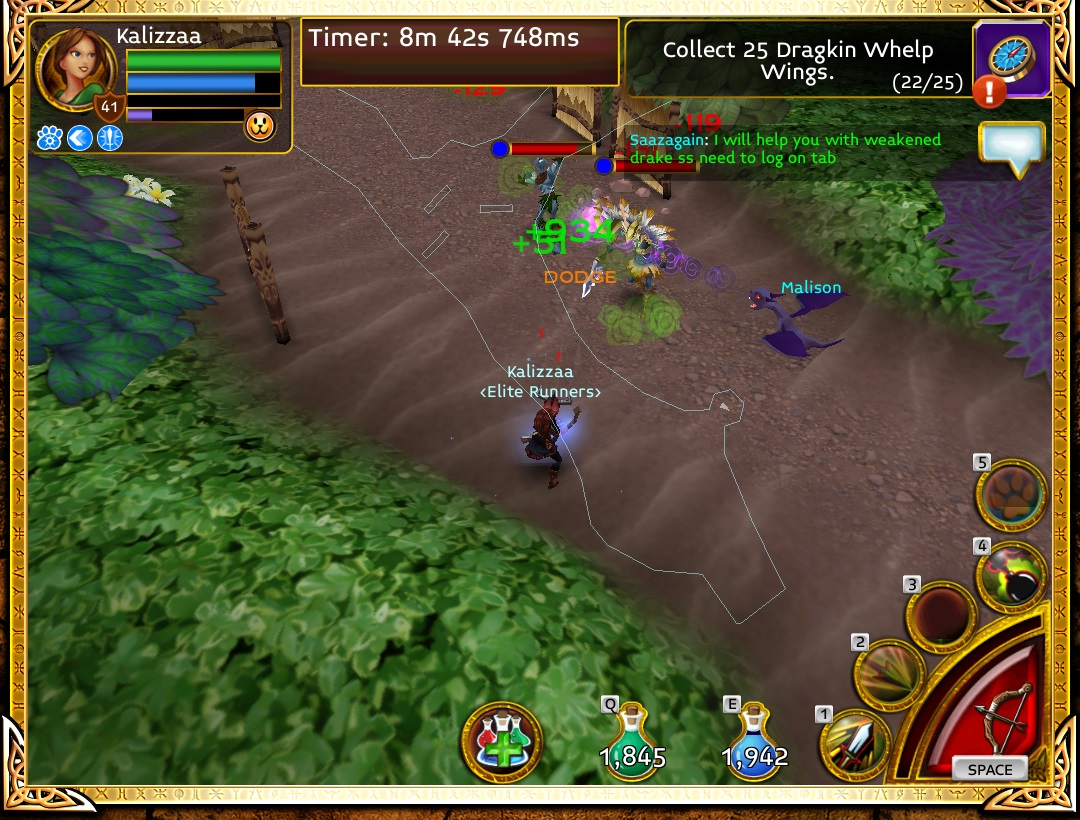
Now, we return back to the three melee mobs. In this case, instead of trying to hook one while the other two reset, I prefer to use a strafing attack and handle all three at once. Use your terrain wisely. If you use the wall as a defensive shield to avoid line-of-sight, you control when and where you expose yourself. Fire off Aimed Shots and charged Noxious Bolts - avoid using Pierce as that will only get you into trouble. Keep kiting, circling and hiding behind the walls as needed until you handle all three of them.
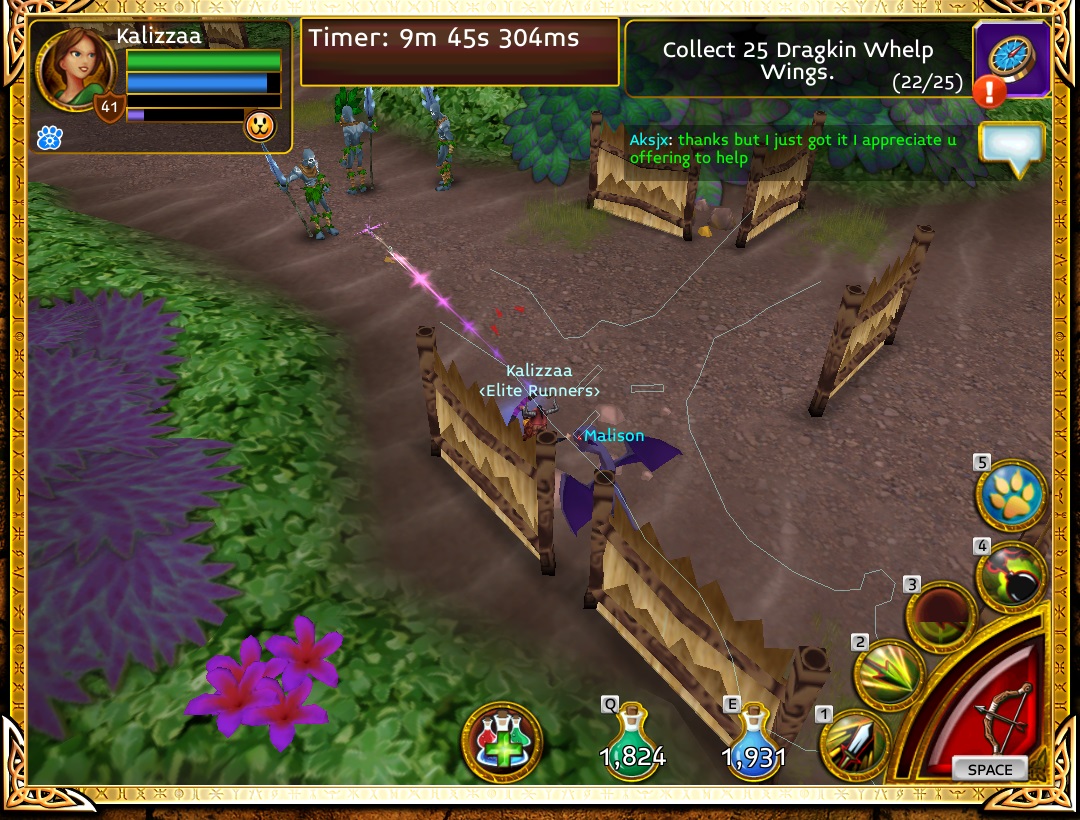
With this section cleared, proceed forward. Inch ahead slowly because two archers will jump out of the bushes. You only want aggro from these two, and not the cluster of six mobs ahead. Once the first archer spawns, fire off an arrow and start retreating.
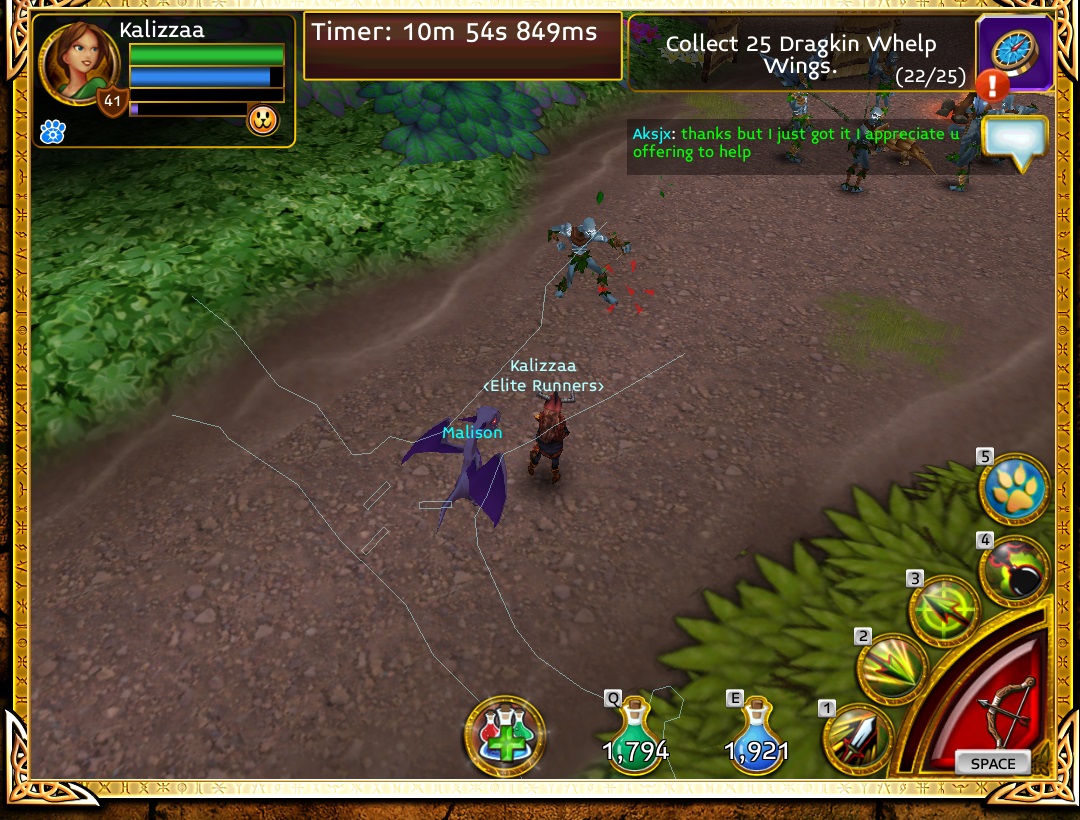
Once you are a safe distance away, you can dispose of these two archers. I would recommend focusing your attacks on one mob at a time. There is nothing more frustrating than being pummeled by a bunch of mobs, all with less than 20% of their health.
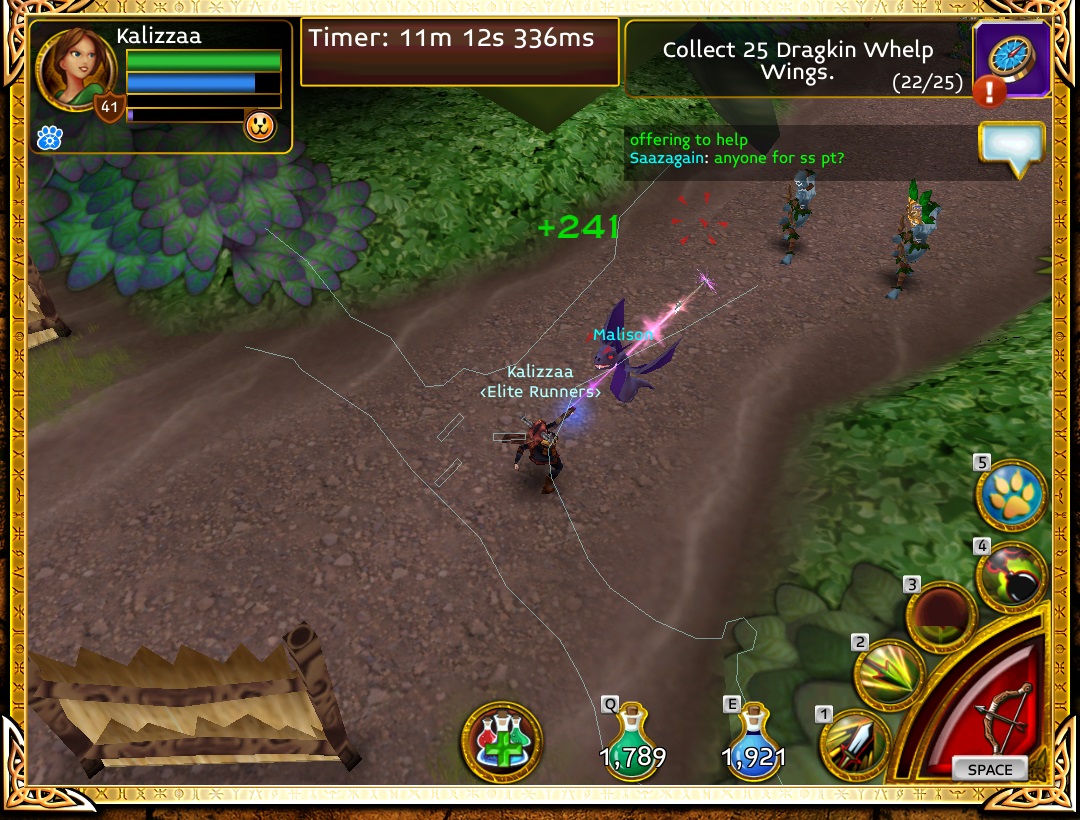
Now comes one of the more difficult parts of this run. Up ahead, there are two archers, a scorn looking creature and three spear mobs. First off, you want to separate out the archers. I suggest you go ahead and aggro the entire group (using charged Nox, since it is nice to have the poison damage start while you are running away). Retreat back to the melee reset point.
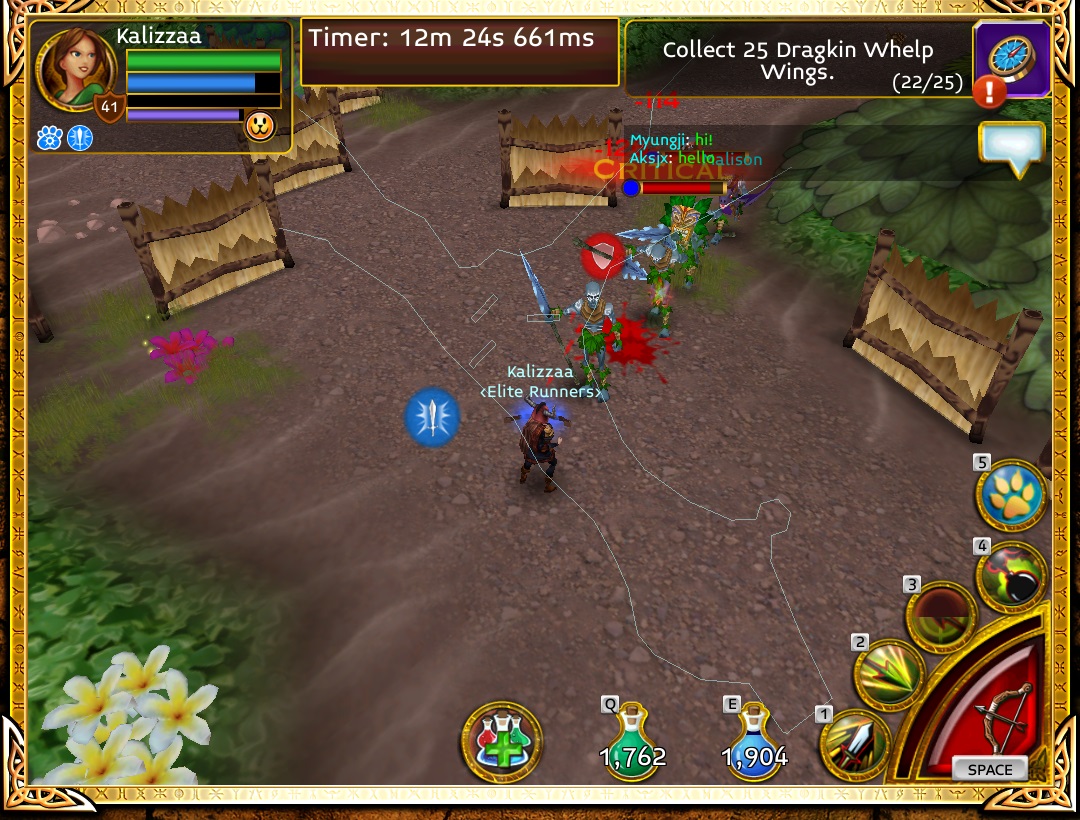
Sometimes, you can isolate a single archer (remember that one was standing just a little bit further away than the other, so his reset point is a little further away as well), other times, you may get both. Either way, one rogue versus one or two archers shouldn't cause too much drama. In my case, I succeeded in aggroing one archer at a time, so after the first archer was killed, I went back and aggroed the group a second time to gather the second archer.
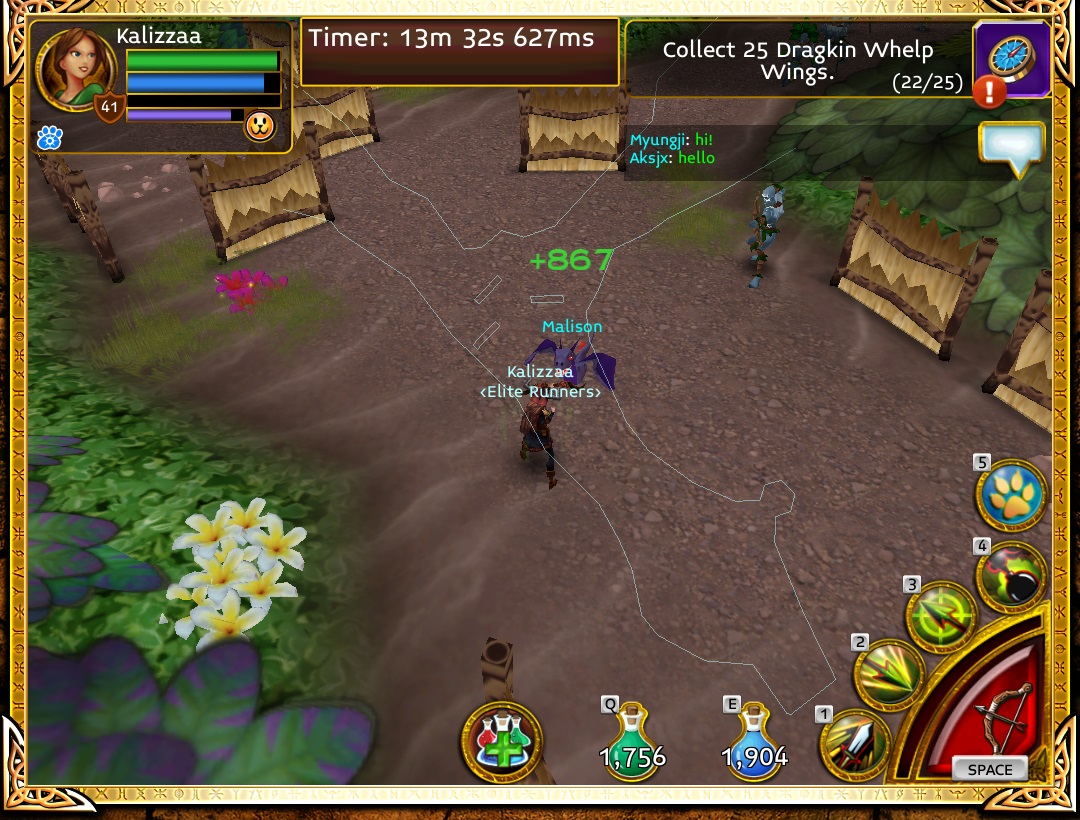
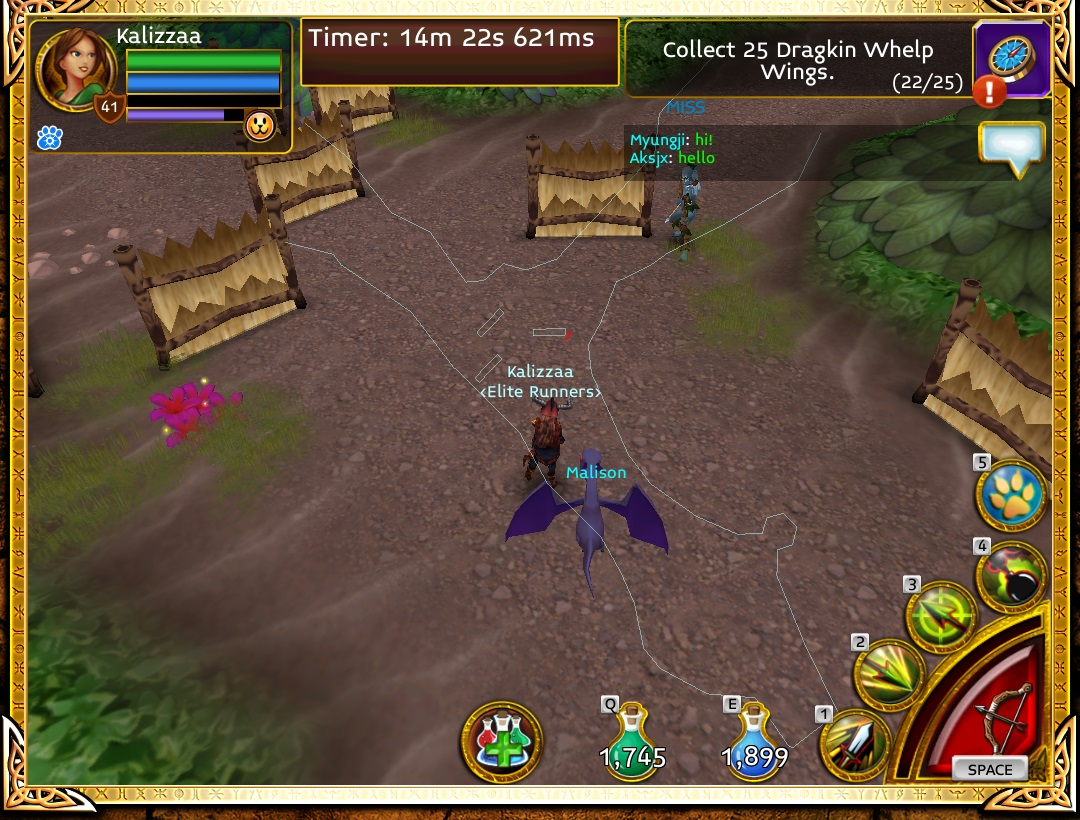
Next, we use a hook approach, which is to aggro, retreat back to the melee reset point, but to spam attacks against one or two mobs during their approach. With a higher aggro level, these one or two mobs will stick around while the rest of the pack resets.
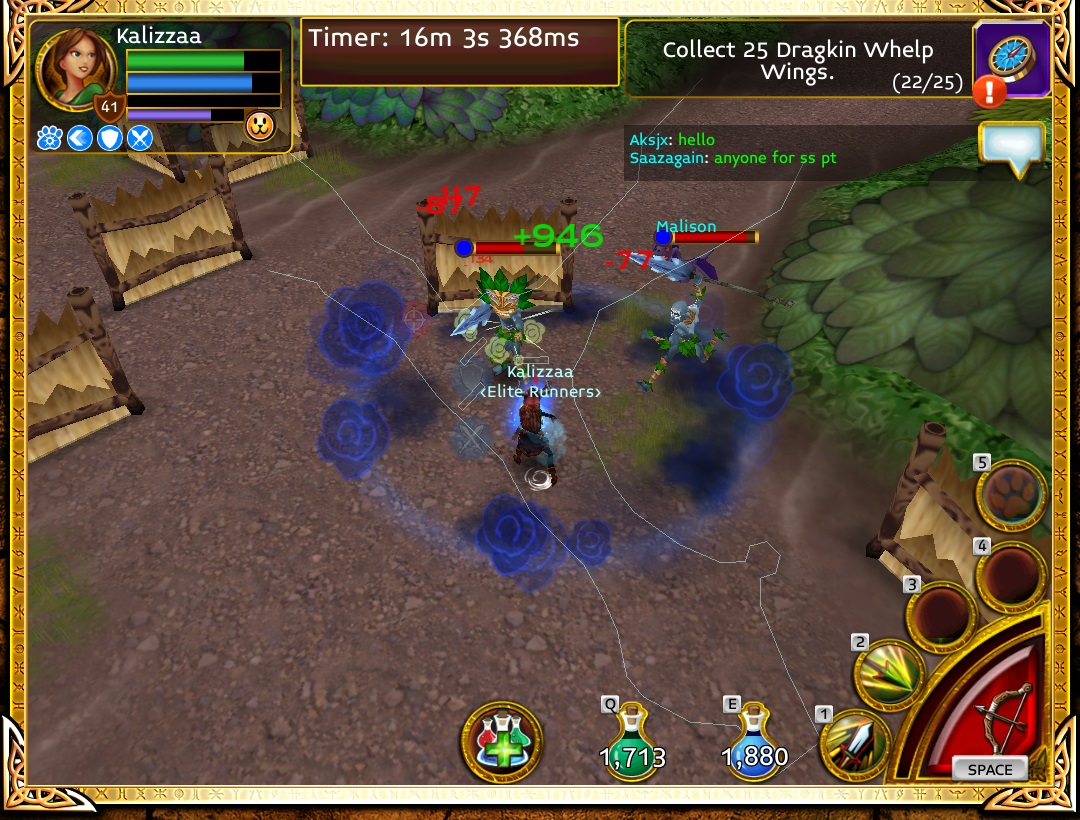
Now that we have thinned the group down to three, you can proceed with a strafing approach. Keep circling and strafing until the entire group has been dealt with.
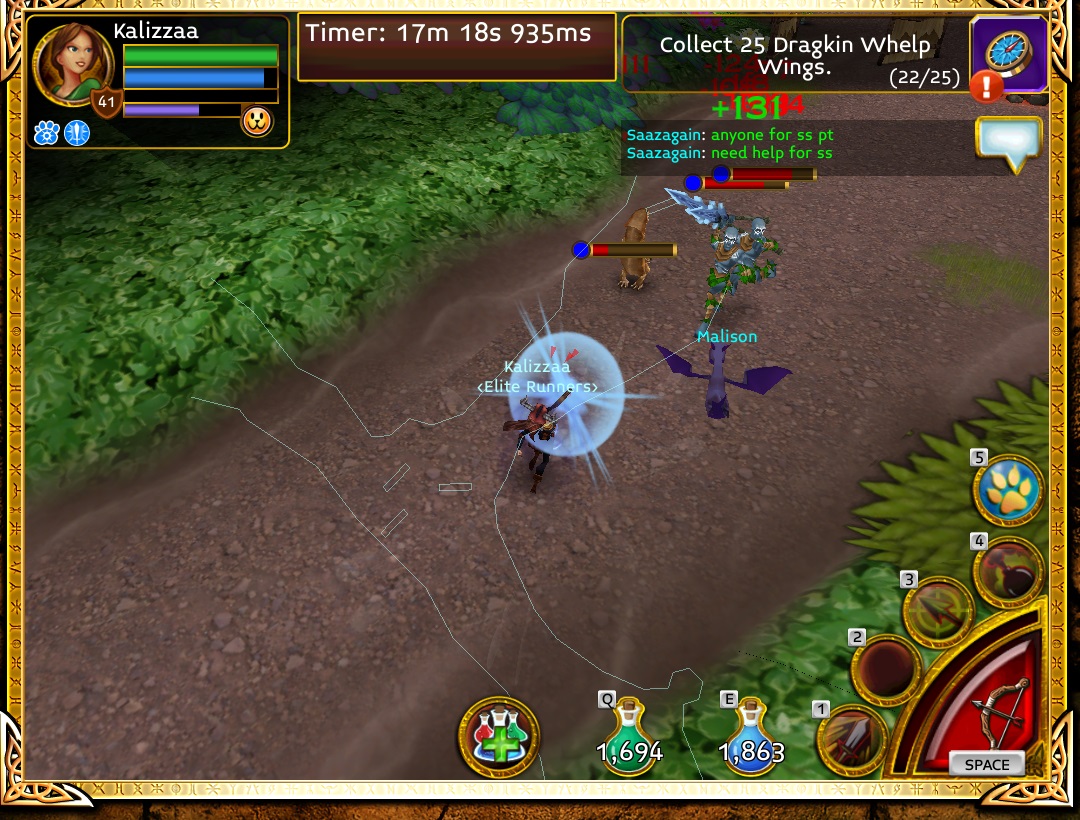
PRO TIP:
Pay heed to the scorn, he is faster than the rest of the mobs, and he has, what I consider to be, an invisible windup electric bite attack that one-hits rogues and mages. Use the fact that he is the fastest mob to your advantage, because you want to dispose of him first. As you circle and kite, wait until the scorn is the closest mob - that ensures that your attacks will hit him and not the others.
Next up are two spear wielding mobs. Get just within bow range and attack the pair. Retreat a step or two and drop a Shadow Veil and spam away. You should be able to handle both of these two at the same time.
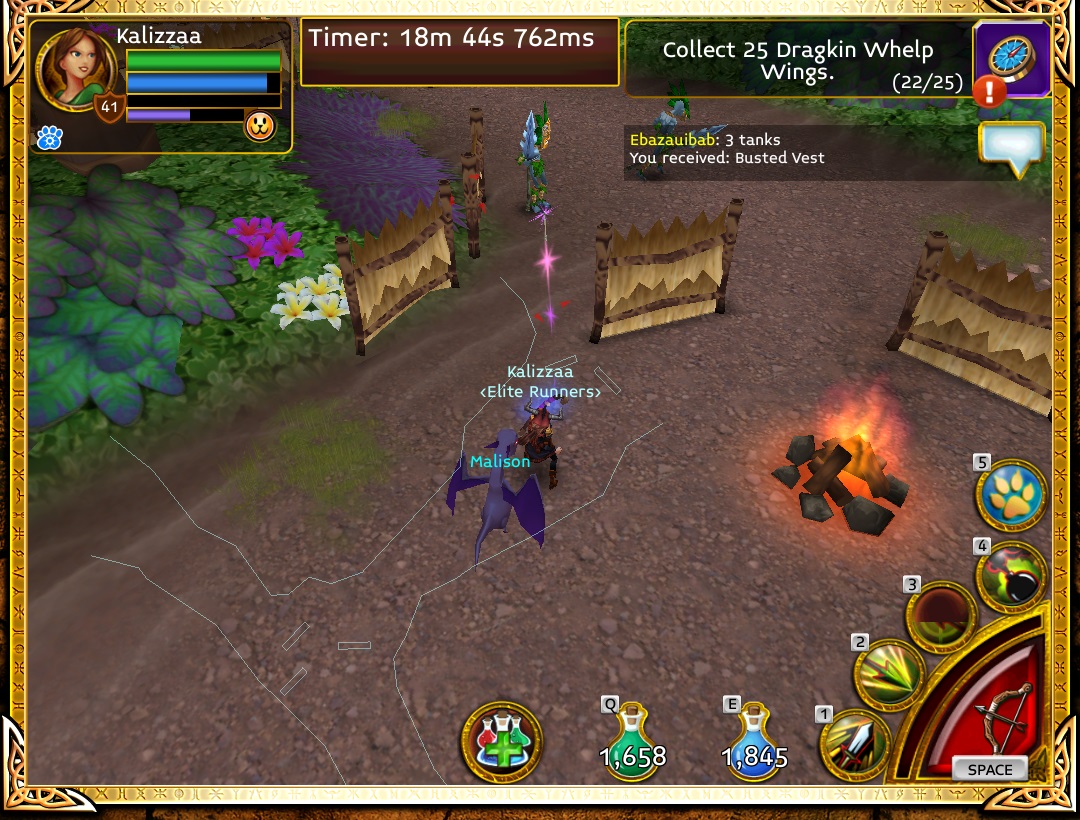
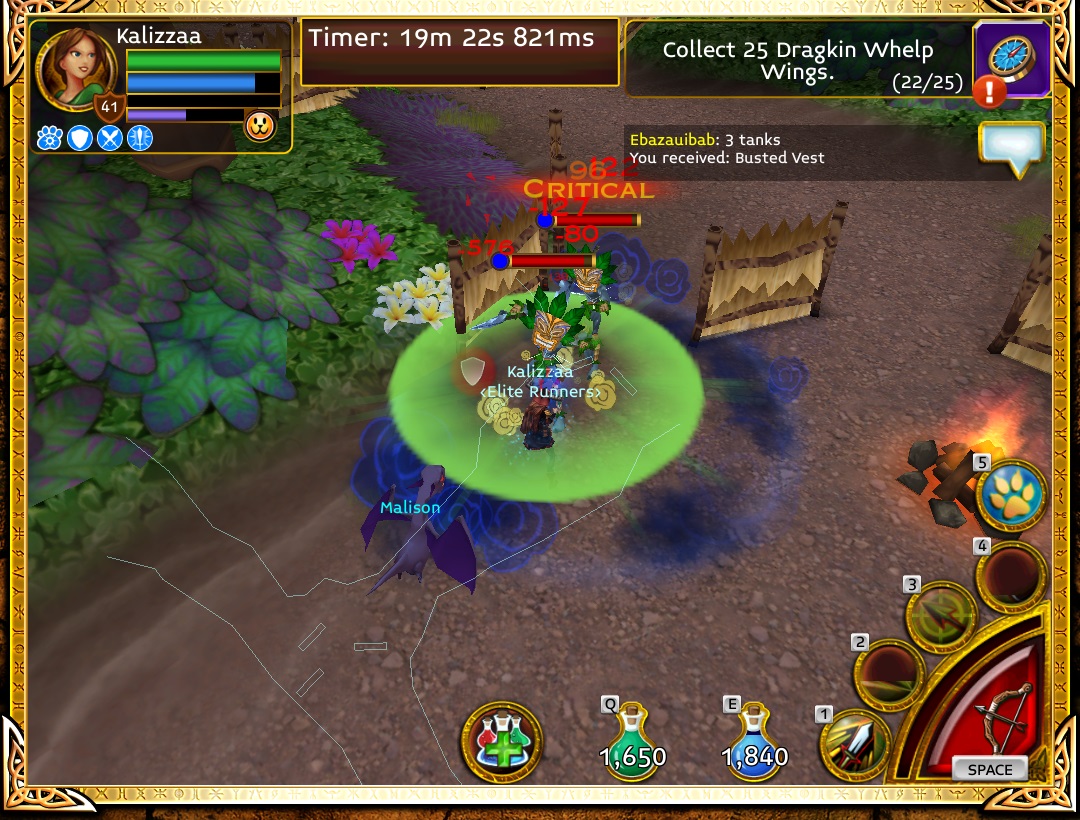
With these two handled, go to the opening on the right side of the wall. Up ahead a two archers and a spearman jump out of the bushes, but it is best to control how many you engage, so stay to the far right and gain aggro on the two that appear there.
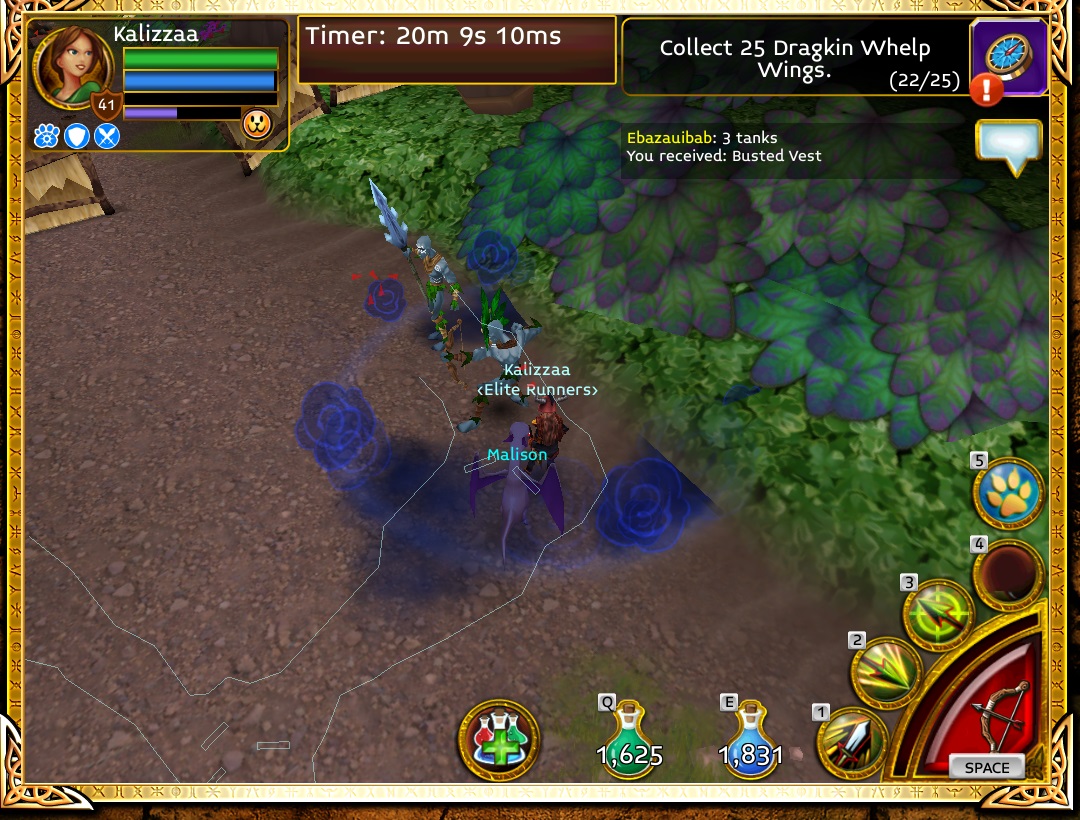
Once you have aggro, retreat back, you really don't want any additional attention from the second archer at this point.
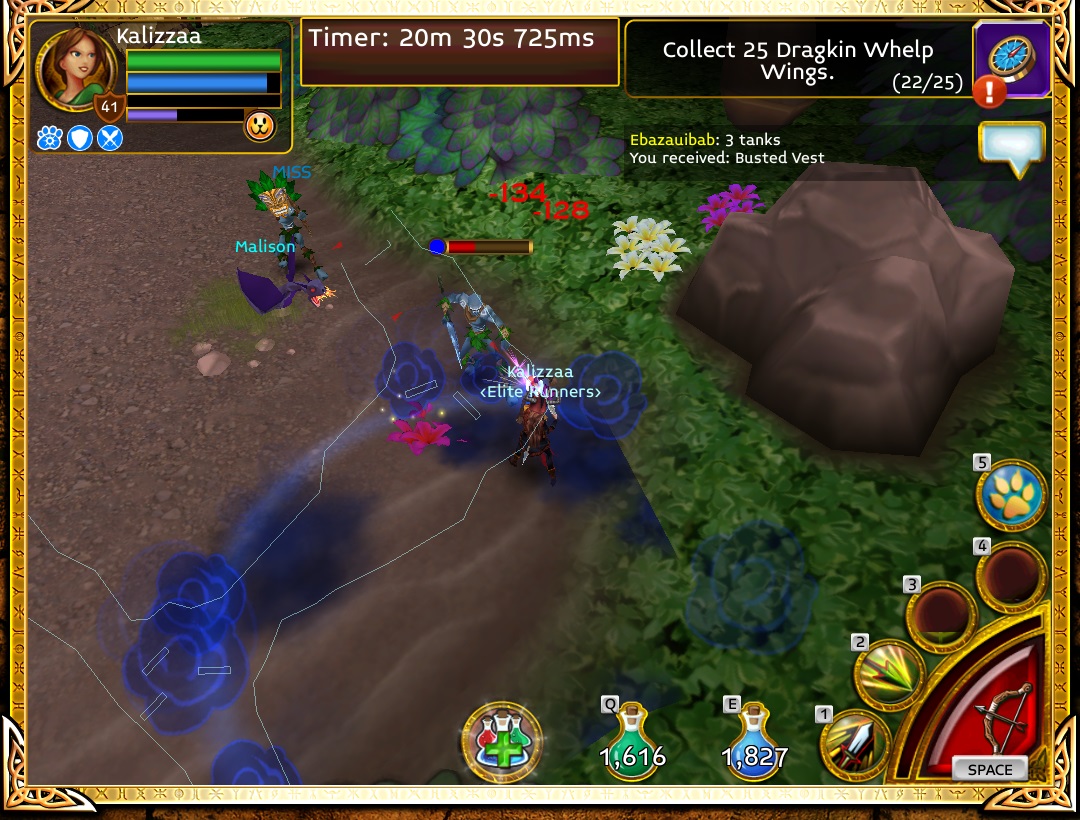
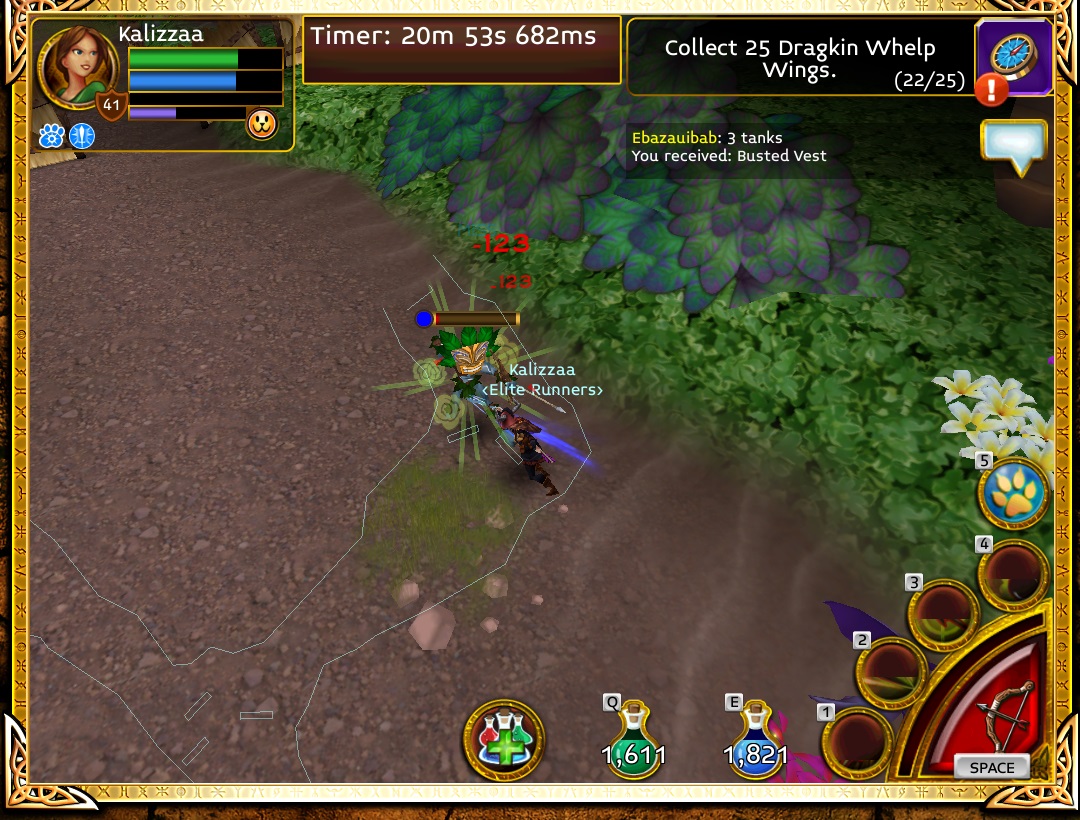
Once again, you are left 1v1 against the remaining archer. Do your thing!
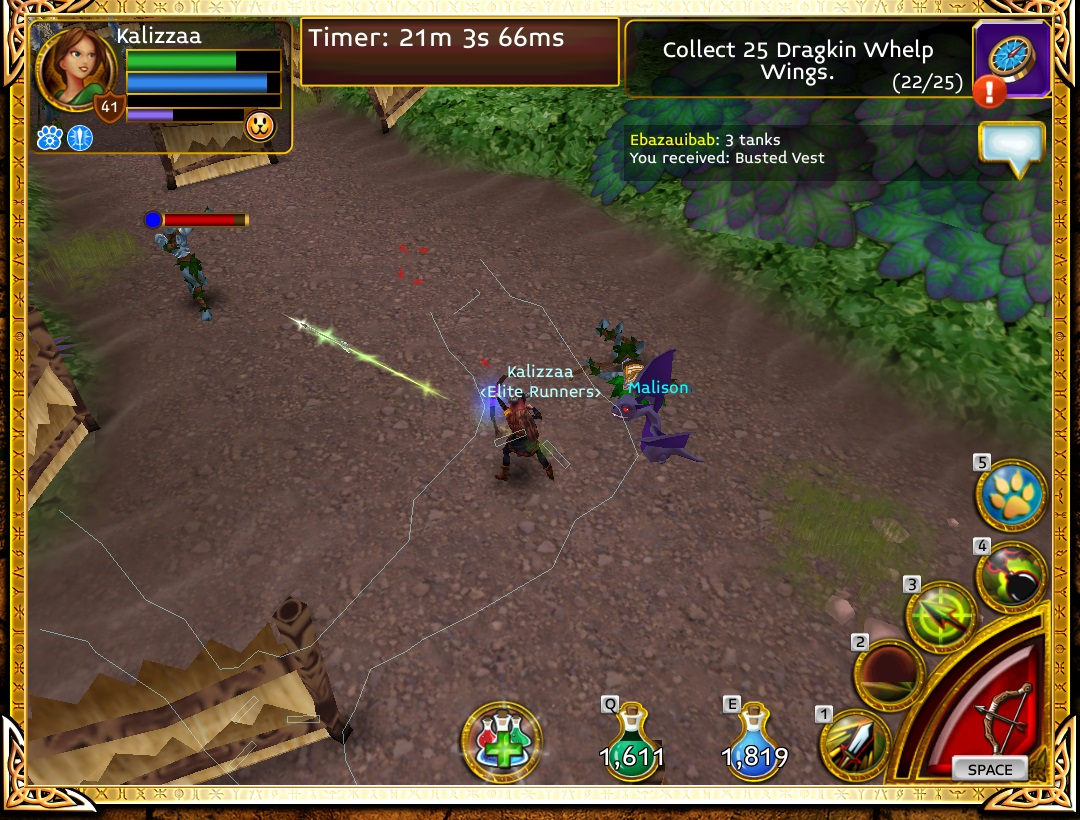
Next up is a cluster of four spearmen and a shaman. While you could use a strafing strategy, utilizing the wall as a defensive measure, the easiest way to handle this is another hook strategy. Aggro the group and retreat.
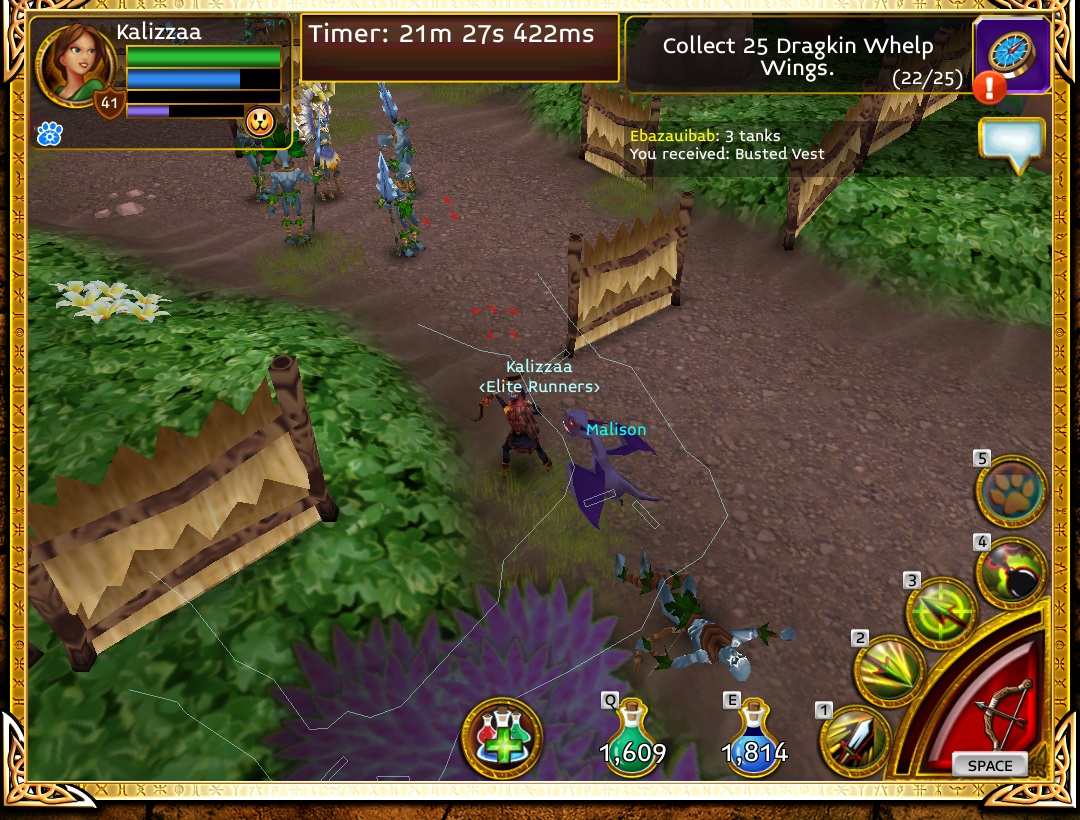
This point here, in between the fence and the bush serves as the general reset area for the group. Fire off a few attacks to keep your aggro level high on one or two mobs and allow the rest to reset.
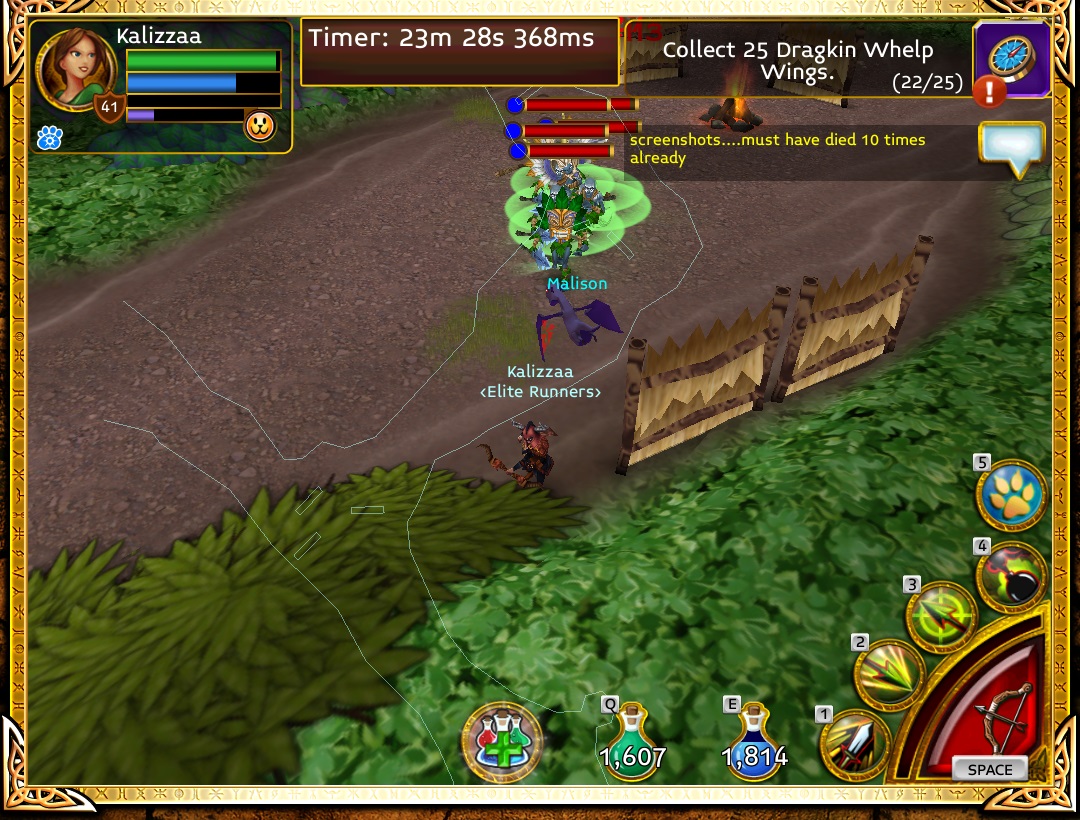
If done correctly, you should be able to separate them down into one or two at a time. 5v1 doesn't favor your, but 1v1 or 2v1 does, so keep repeating this approach until you kill off two of the five in the group.
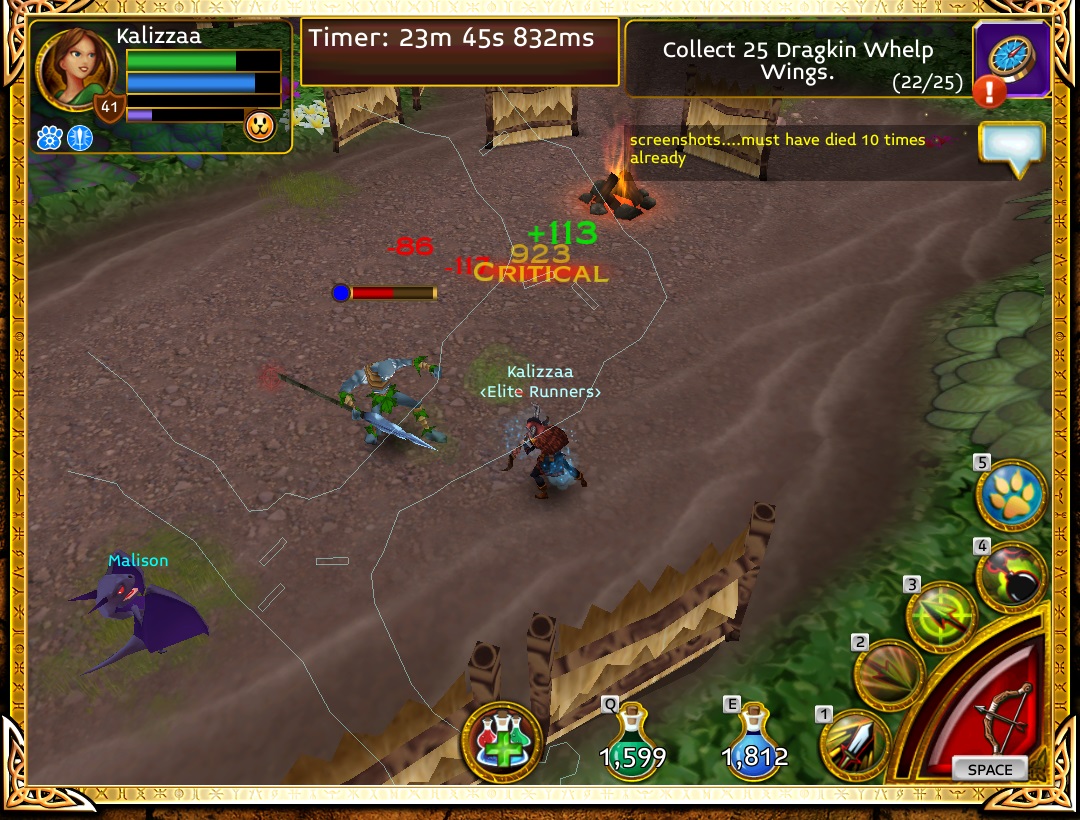
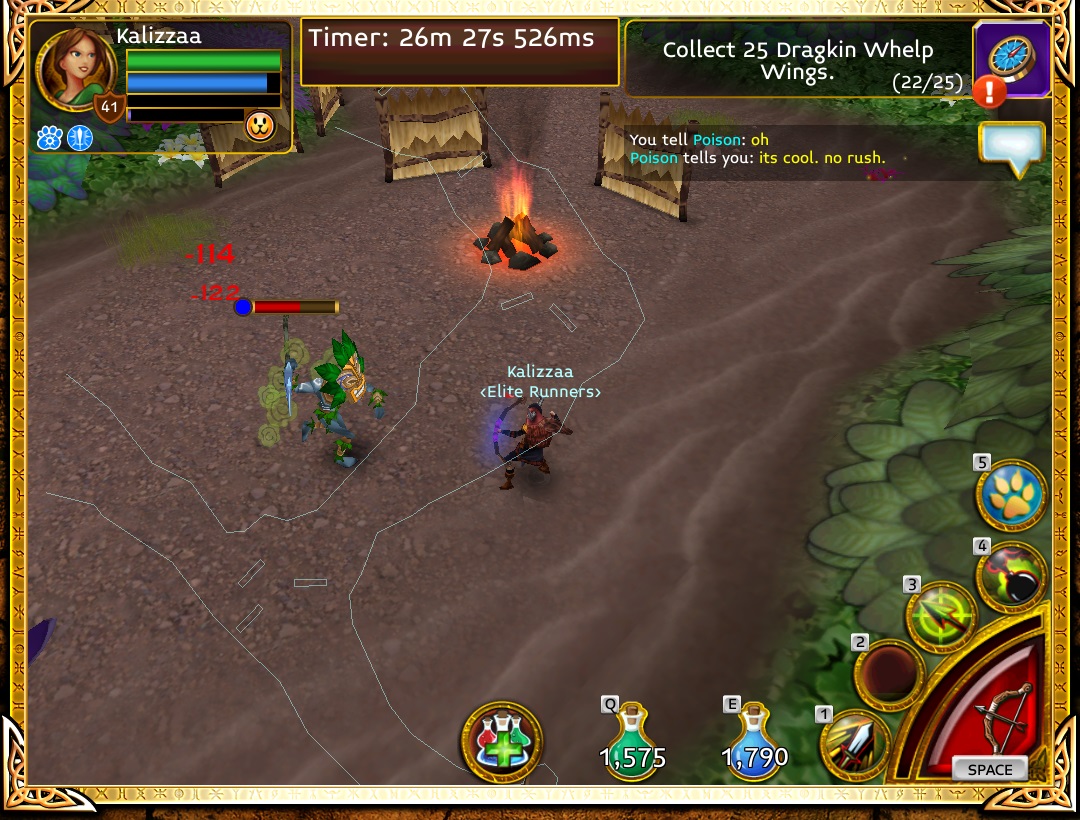
With the remaining three, you have two choices, you can either strafe and use the walls as a defensive position, or you can retreat back to the bushline, which can be a reset point for spearmen. Generally, I strafe down one of the spearmen and reset the other so I can go 1v1 against the shaman.
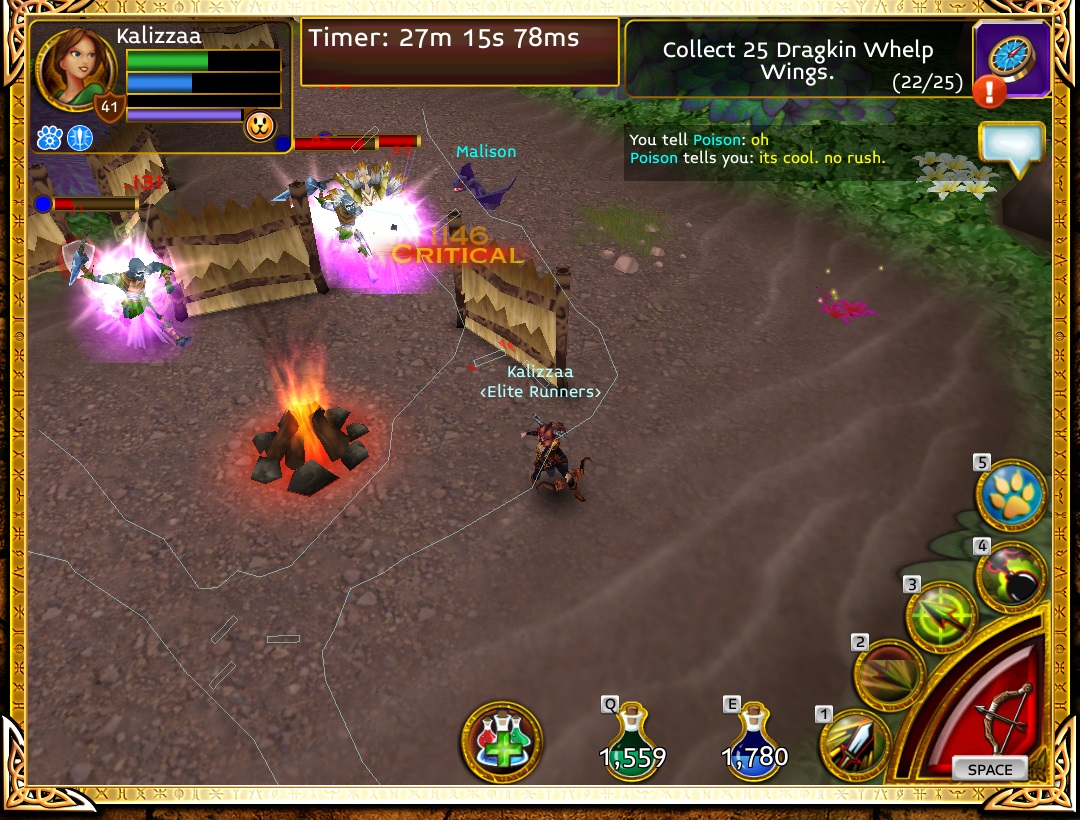
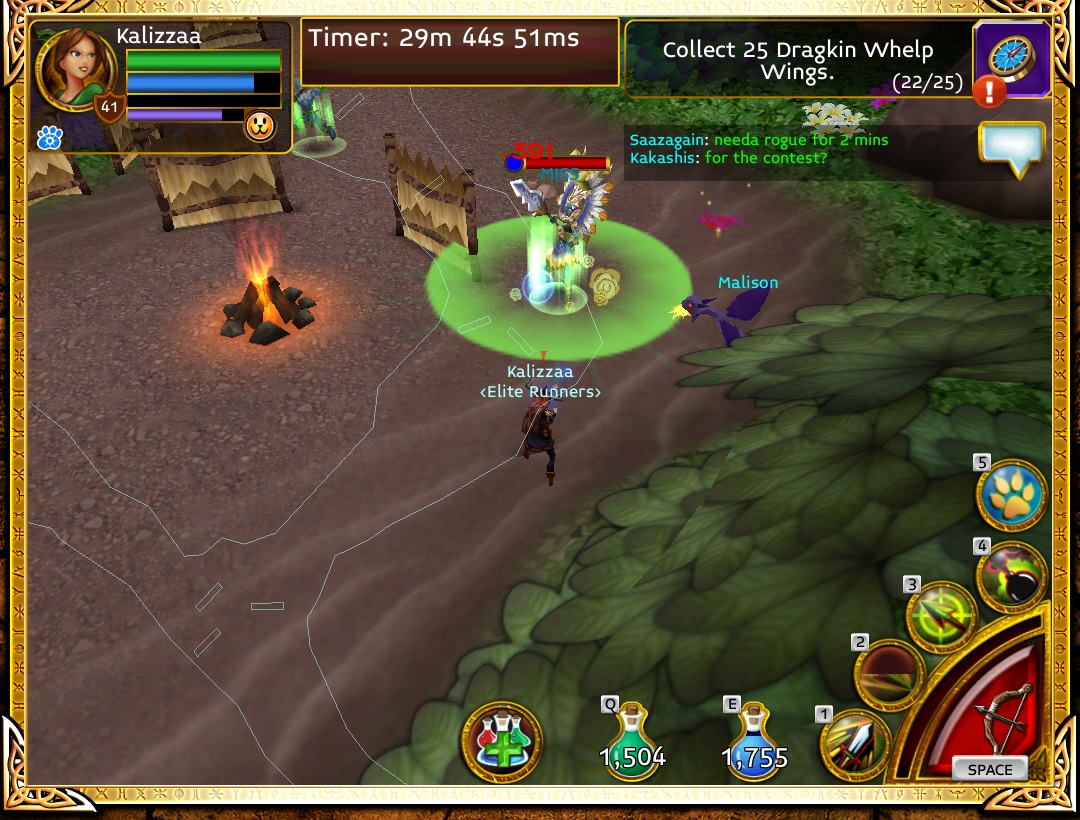
Without the pesky healing shaman, and most of his buddies handled, we have one remaining spearman.
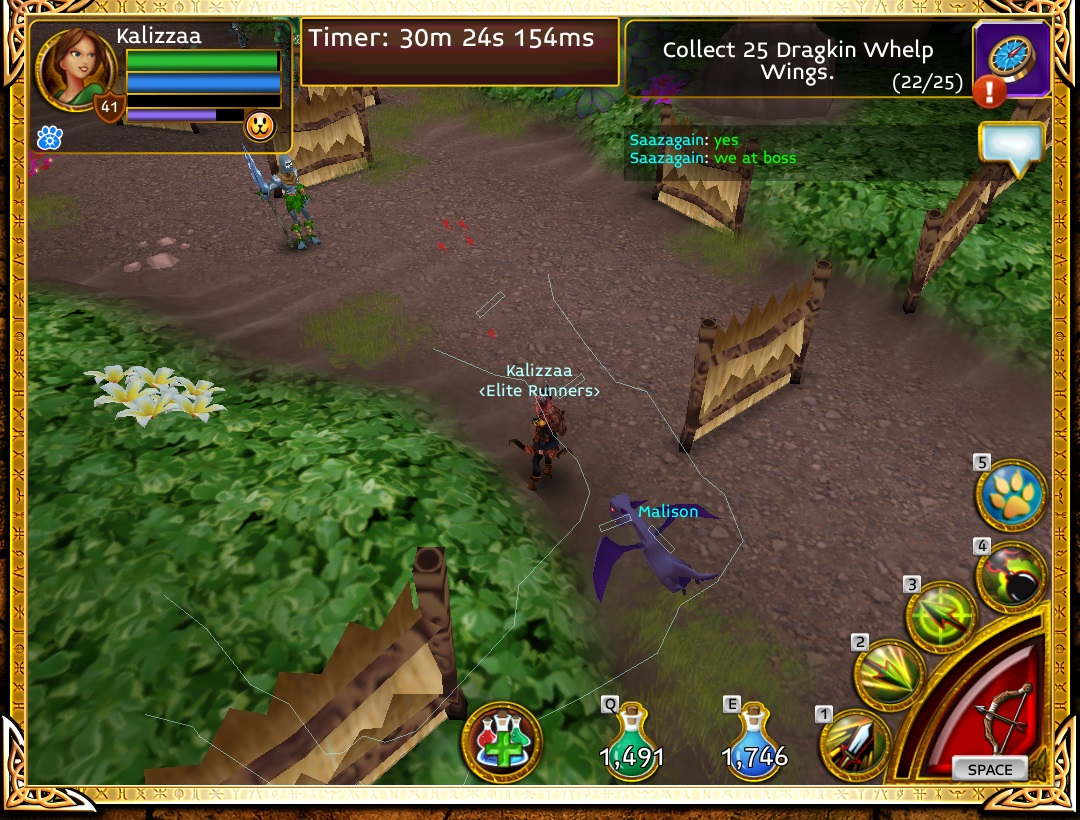
Continue ahead, staying on the right brushline - three mobs will jump out of the bushes. Fire off a shot or two to pick up aggro, and retreat back to the brushline you used earlier. This serves as the reset point for the two spearmen, leaving you with the archer to handle.
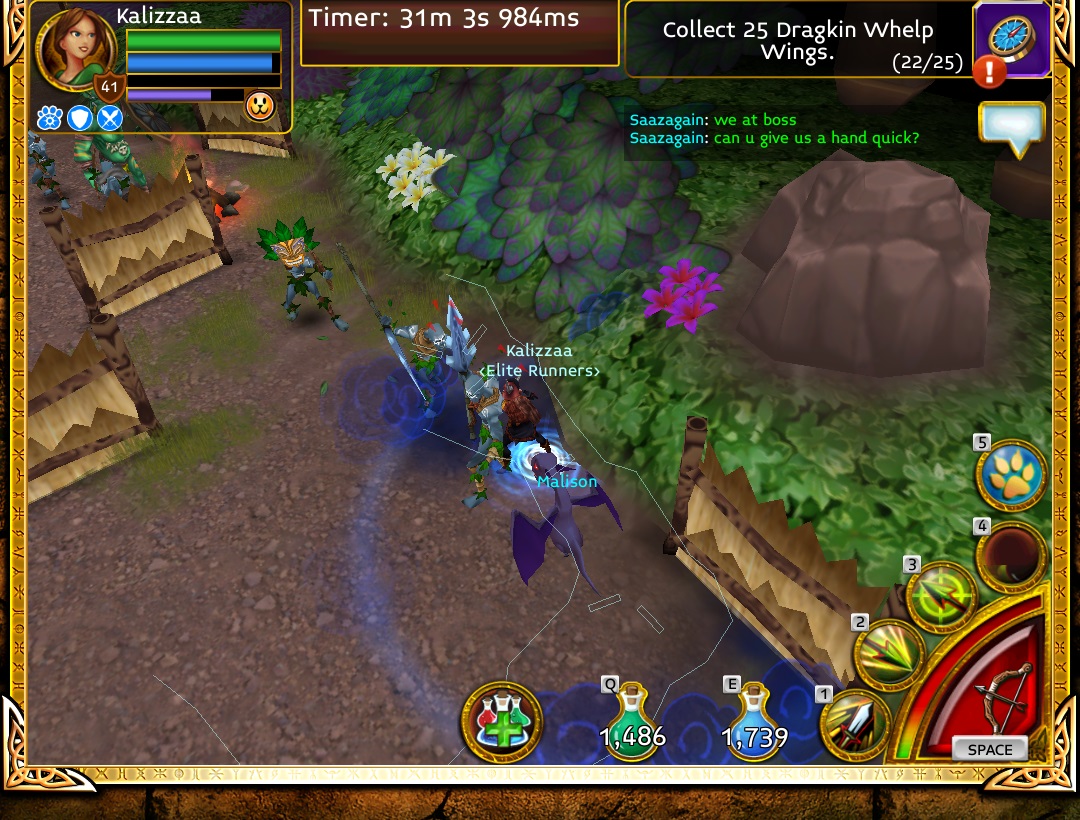
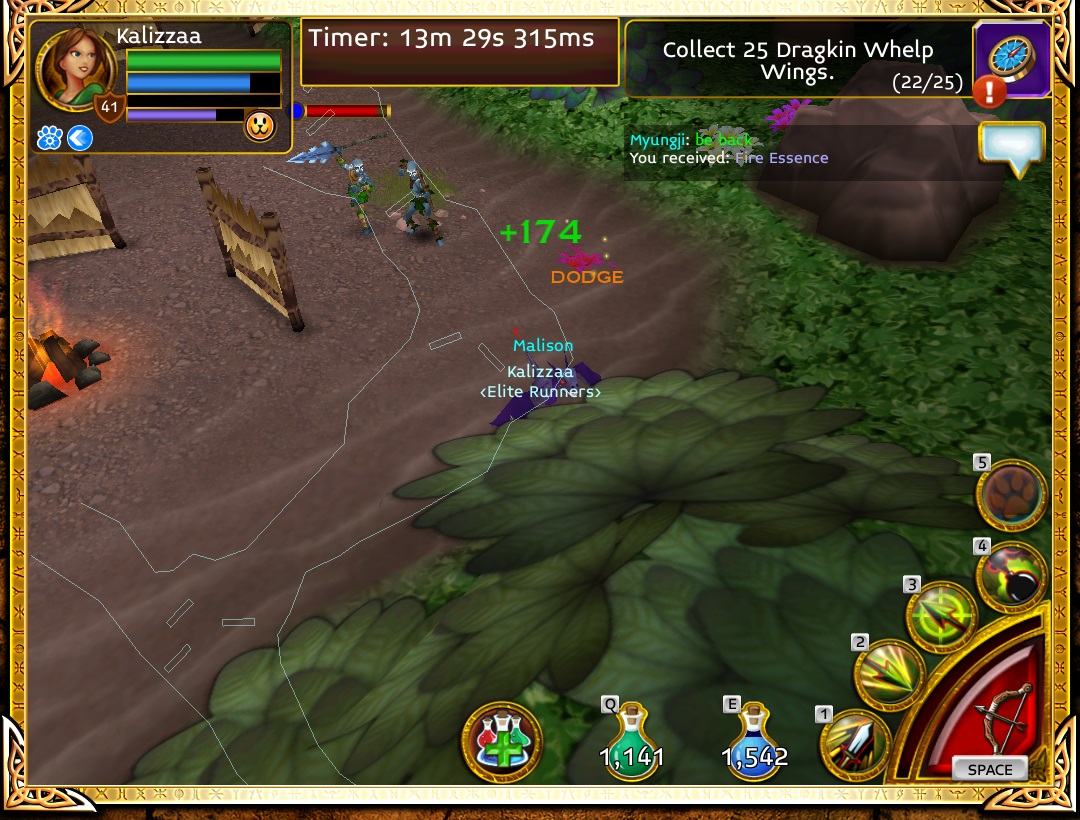
Handle this group one by one until you have taken down all three...
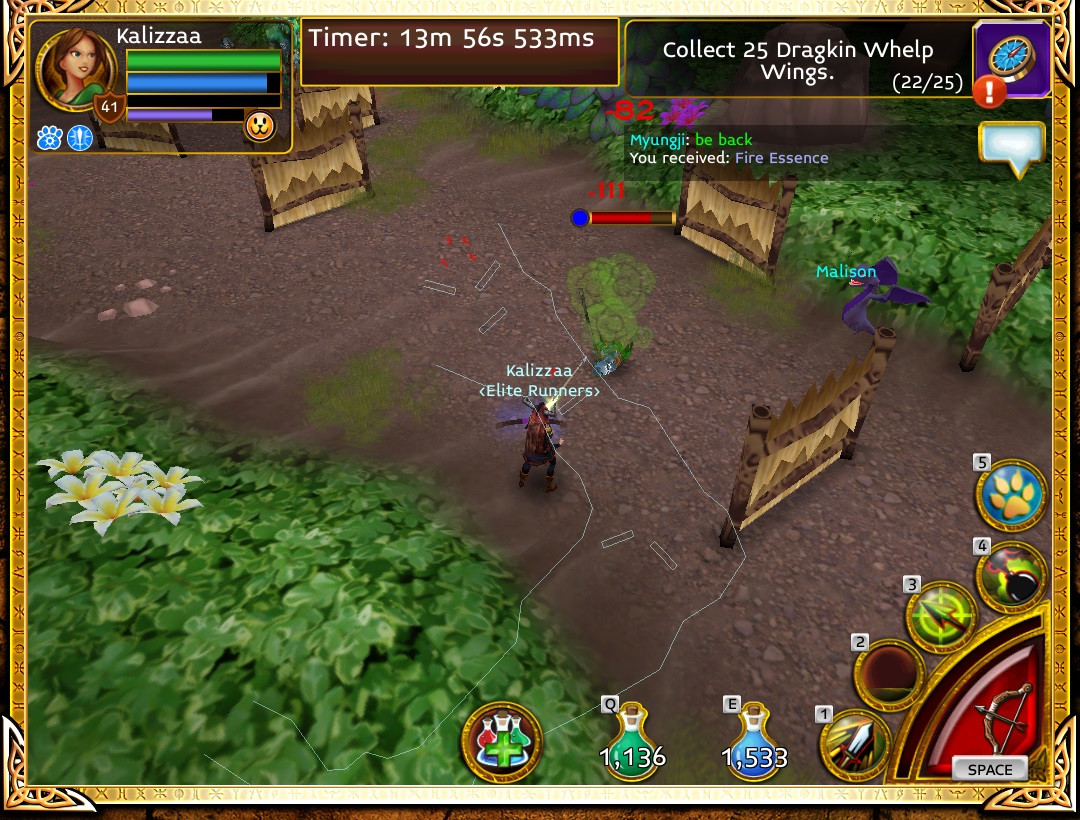
Next up is a green troll with three archers. The toll is very annoying because he has a stun attack, so it is best to simply aggro the group and run away.
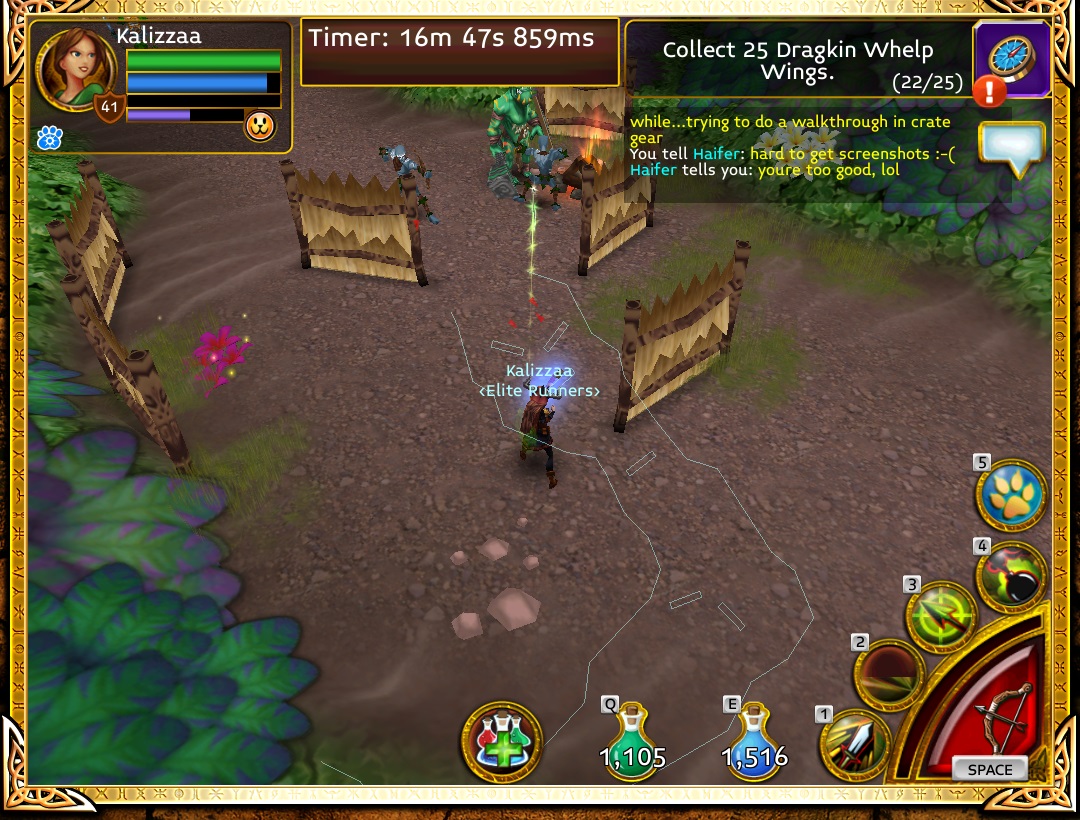
Retreat back to the left hand turn in the map. This will reset the troll, and if you hook one or two archers at a time, you can control how this fight develops by allowing one or two of the archers to reset.
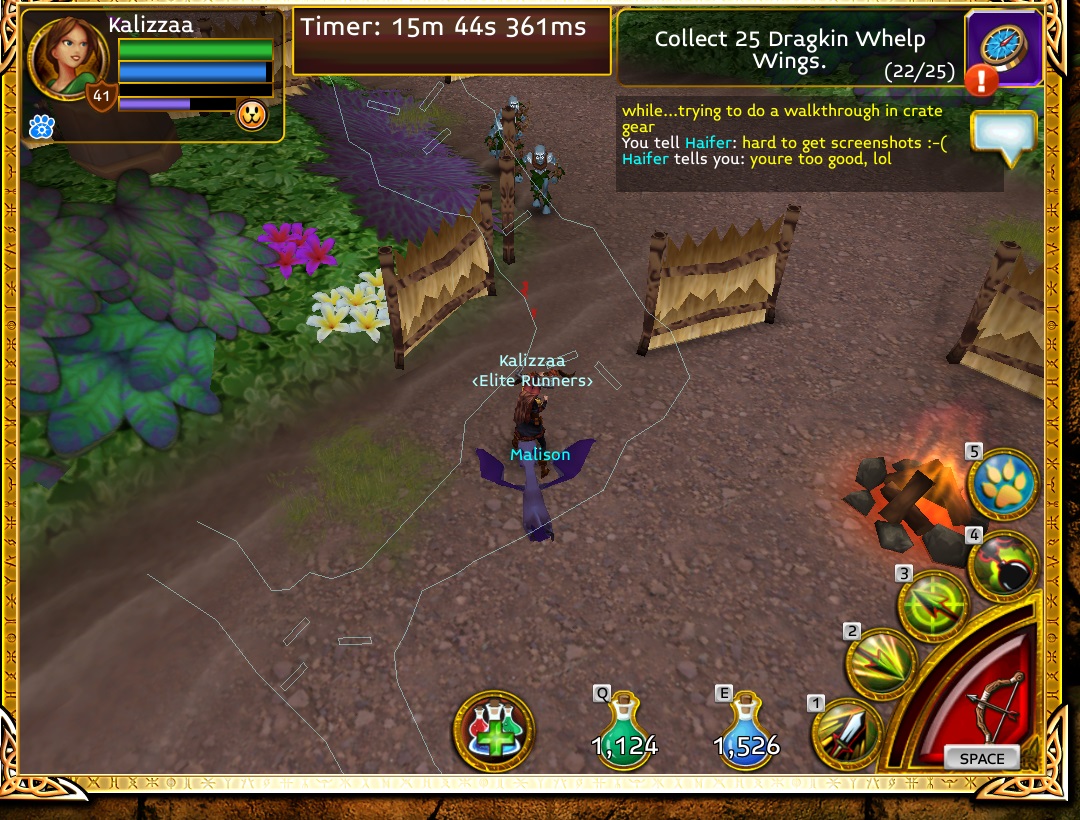
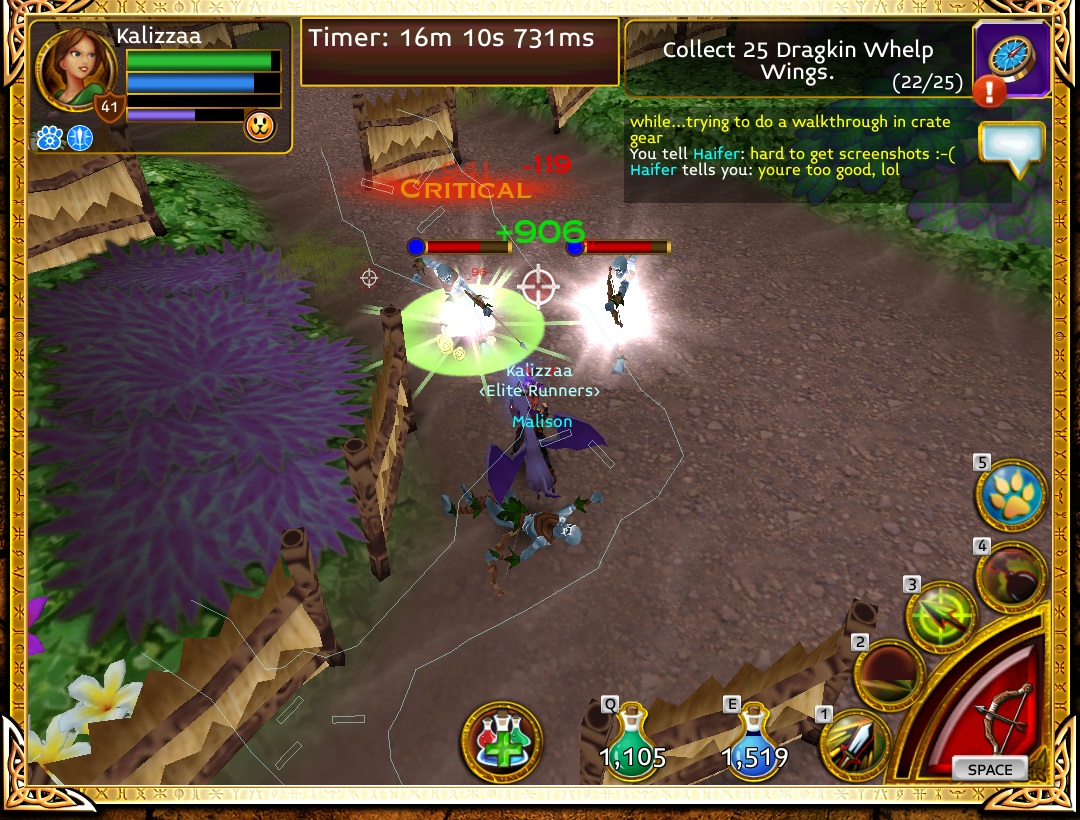
Repeat this process until all archers have been killed. You want to go 1v1 against the troll since that offers the highest probability of success.
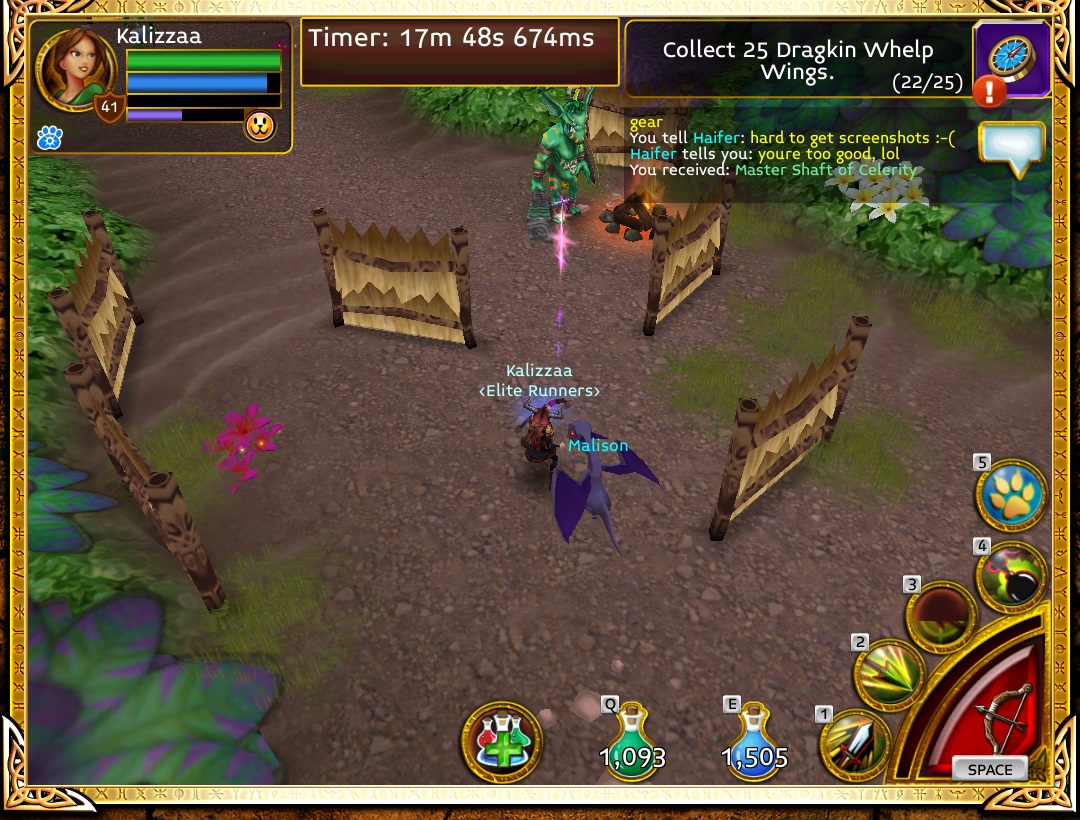
Proceed ahead until you find a handful of mobs. Attack any that are isolated and retreat back a few steps to ensure you are going 1v1 as much as possible.
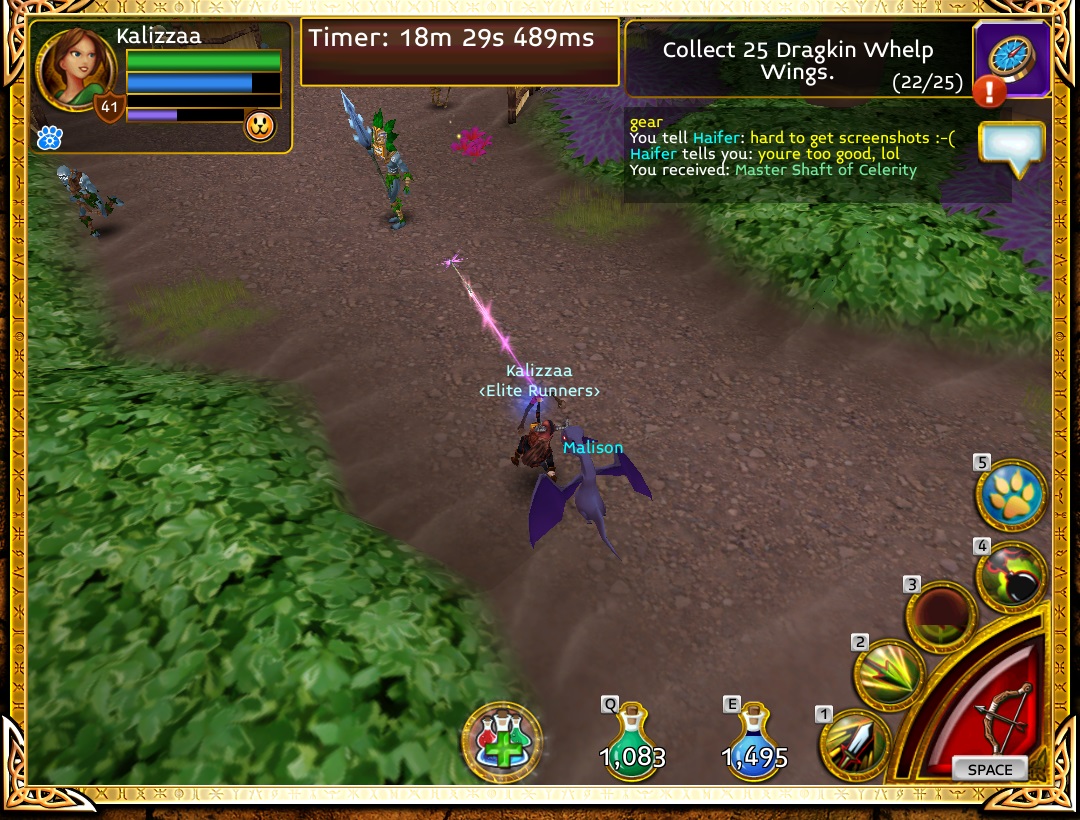
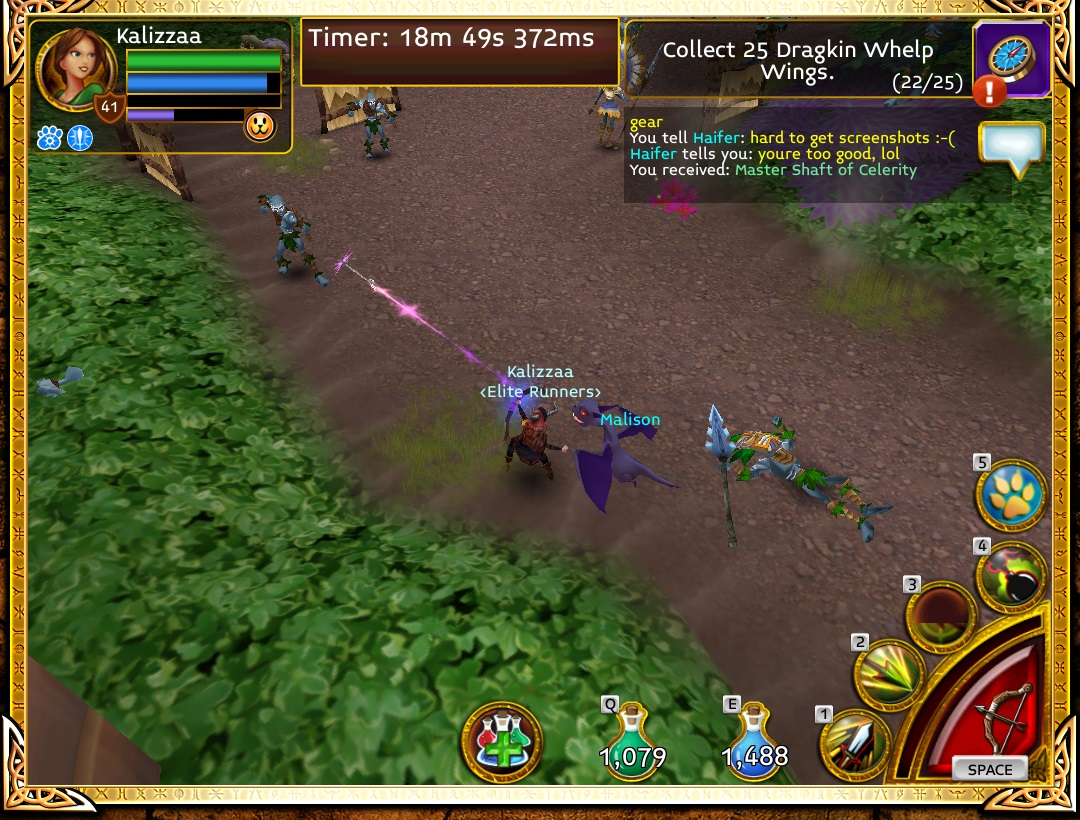
With the first couple of mobs killed, as you approach, more will jump out of the bushes. Stay to the left and you can manage situations such as this where you are facing two archers. Stray too close to the middle or right side of the map, and you risk pulling a larger group.
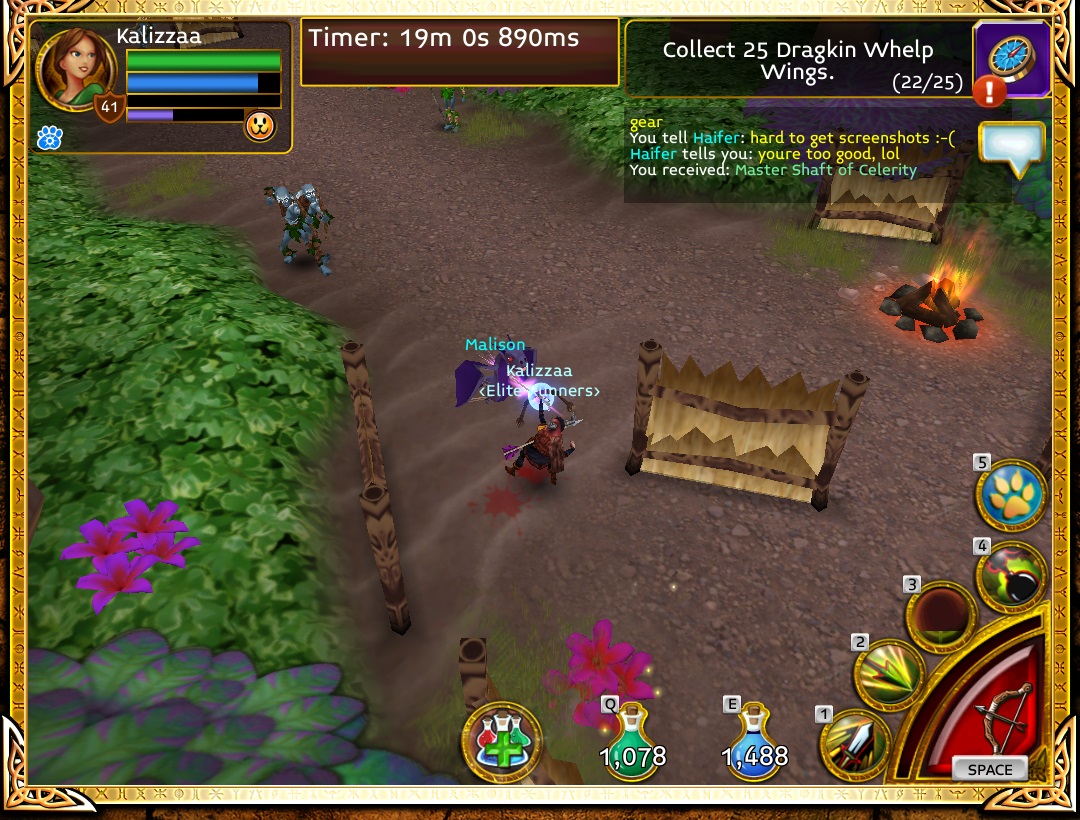
Continue ahead, plucking mobs off one at a time.
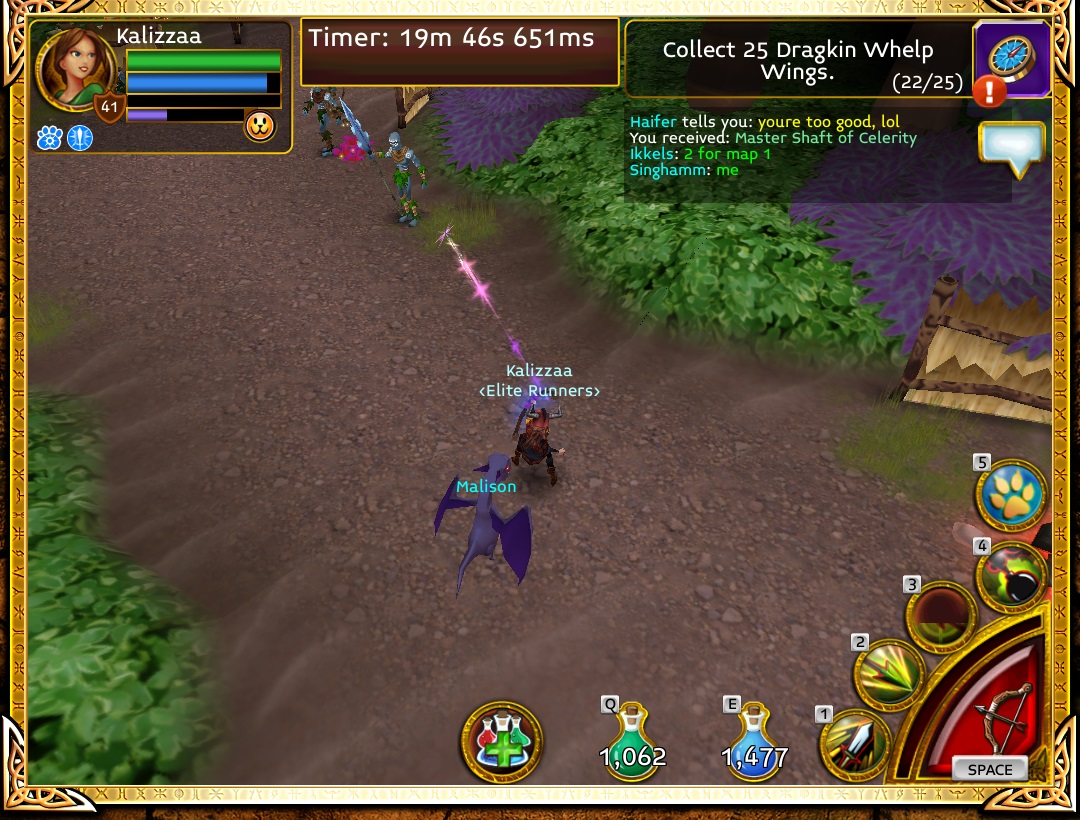
Be careful on this next pull. If you are impatient (as I was), you risk aggroing the shaman as well forcing you to fight an archer and a shaman at the same time.
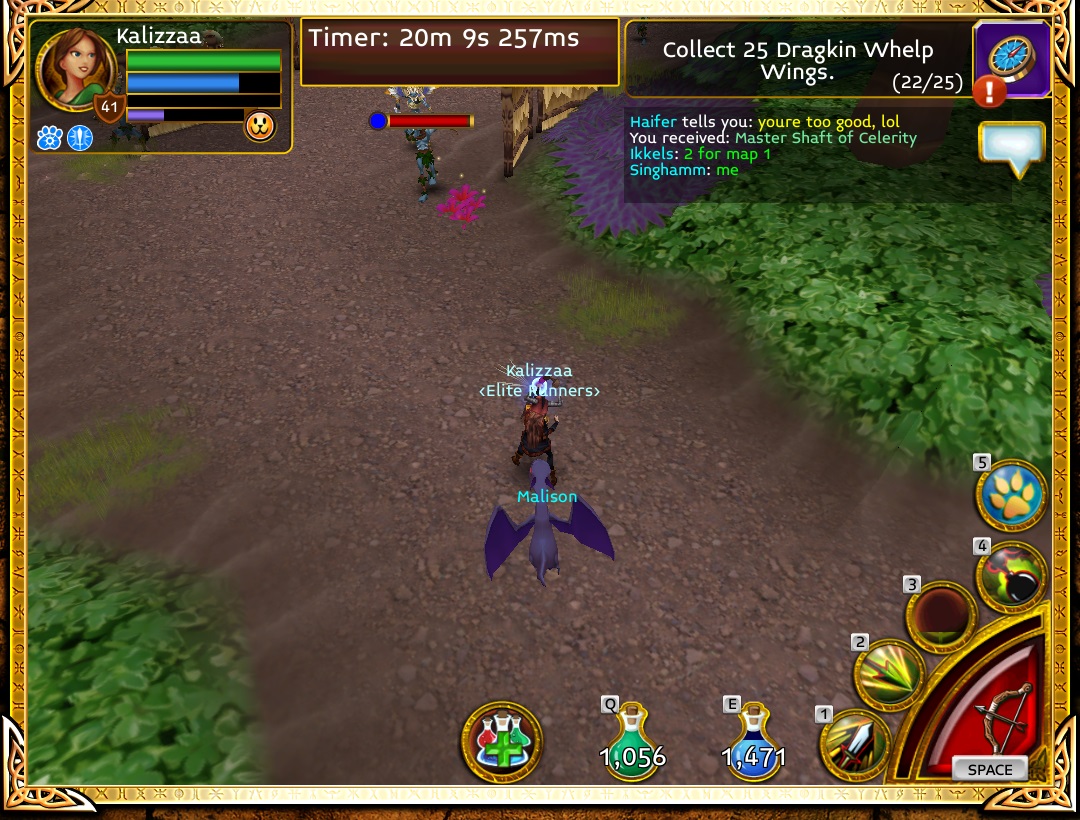
If you do pick up the shaman along with the archer, focus on the shaman first - the his the greater threat to you.
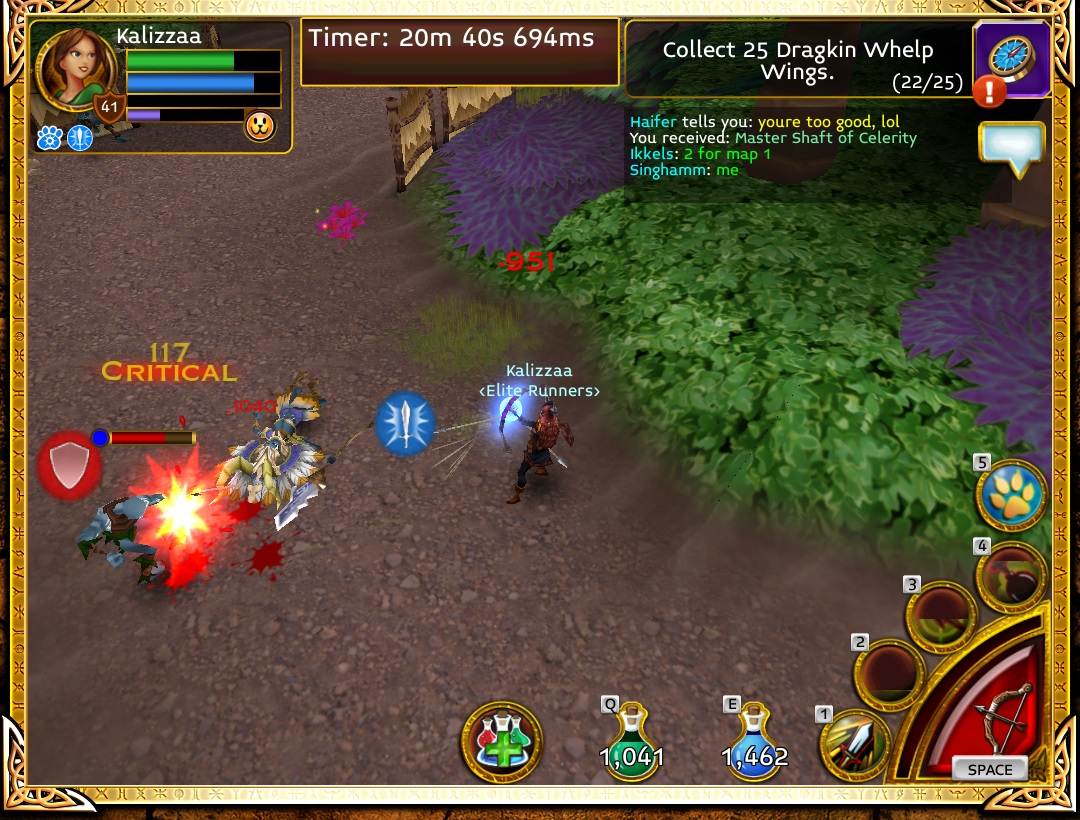
Ignore the cluster of whelps on the left. It is a large group of them, so that means trouble - make sure you never get into bow range of that group, you only want to pick off the spearman ahead, not anger five whelps who will chase after you.
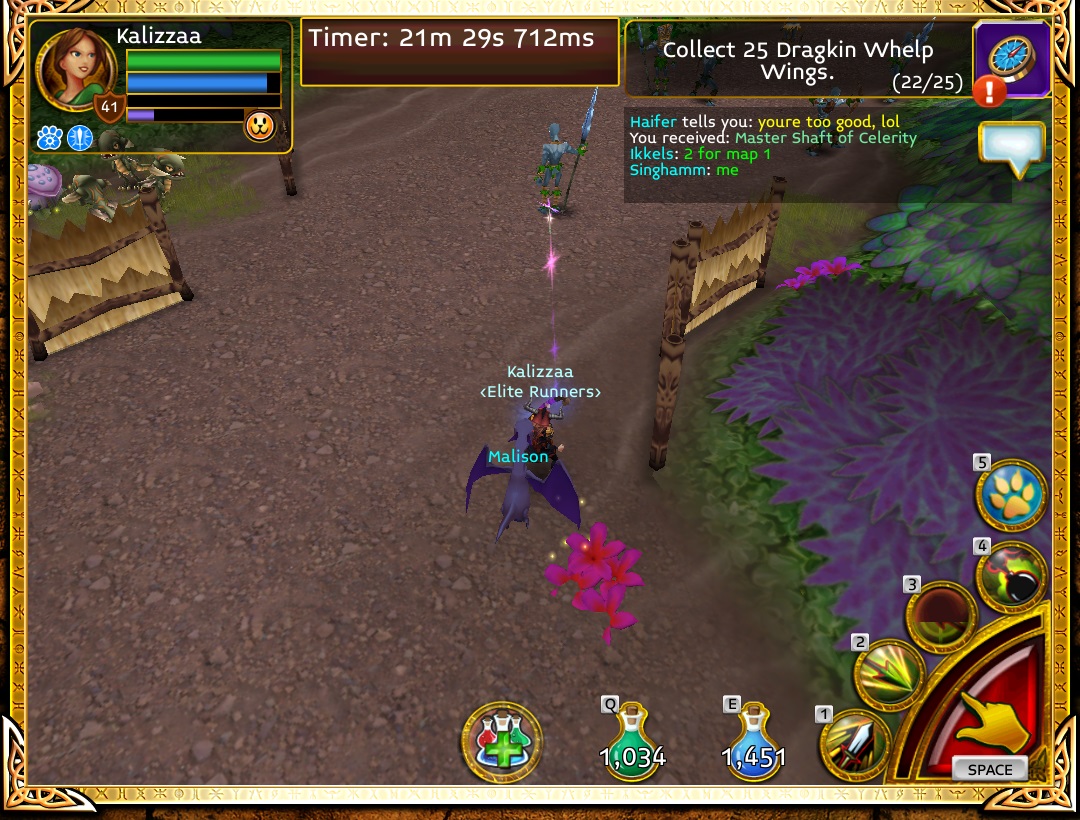
Keep working your way forward, sniping one mob at a time. Have patience, some of these mobs will reposition, so if you don't have a good shot, wait for them to reposition. The point here is not for a fast run, but rather a safe one.
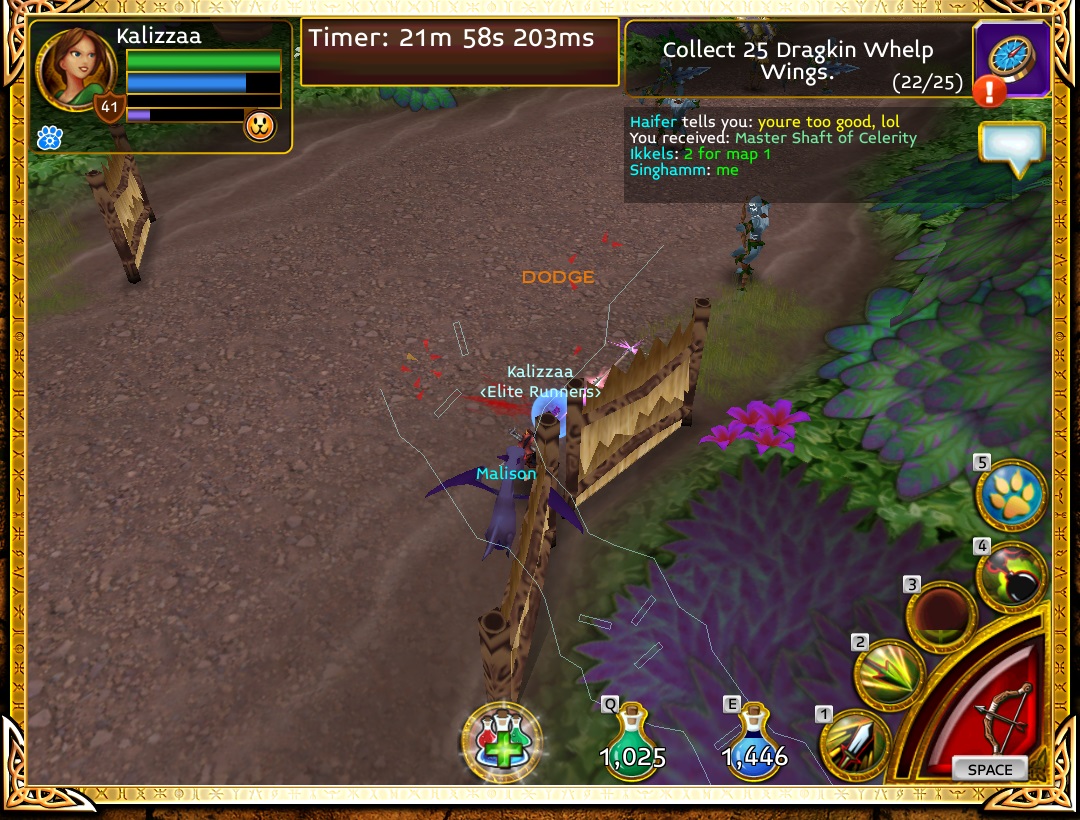
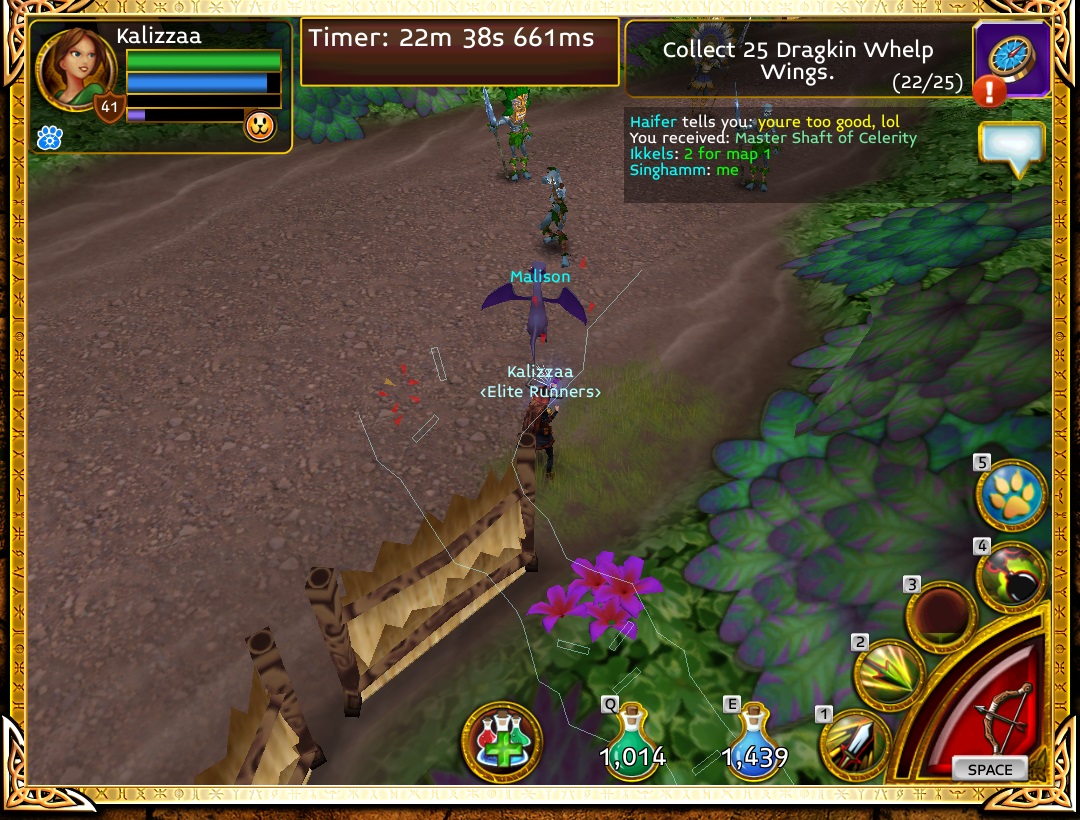
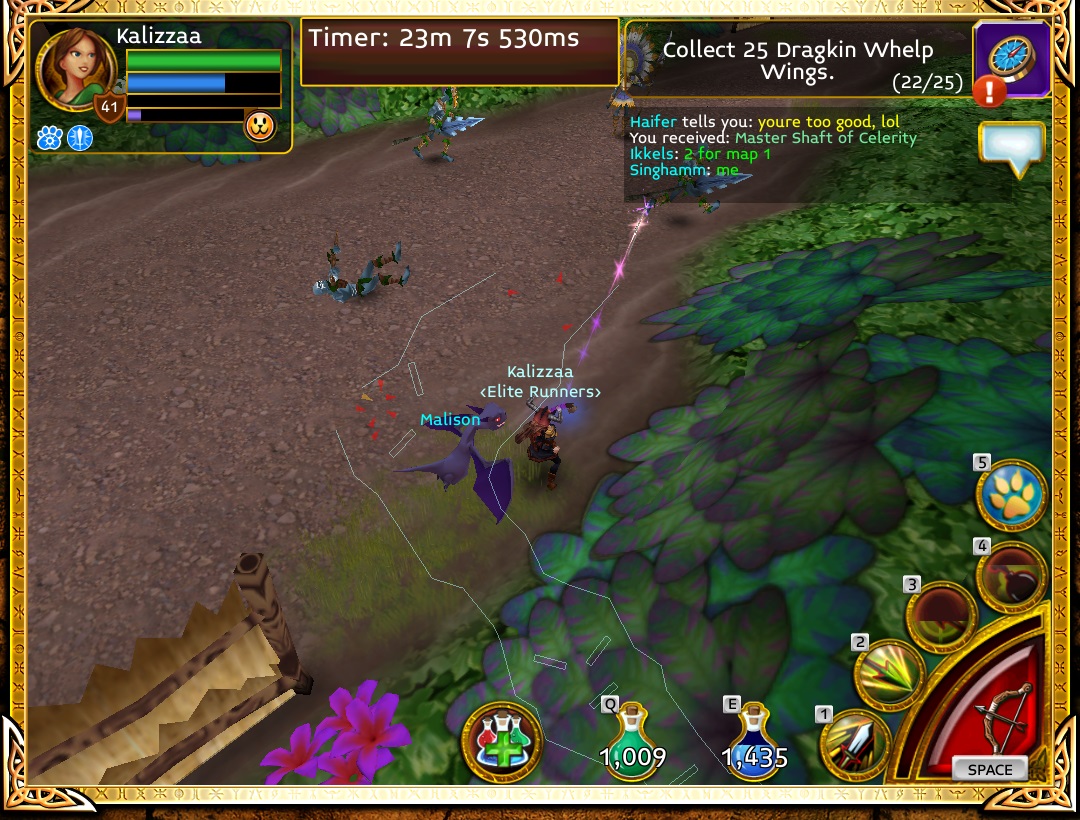
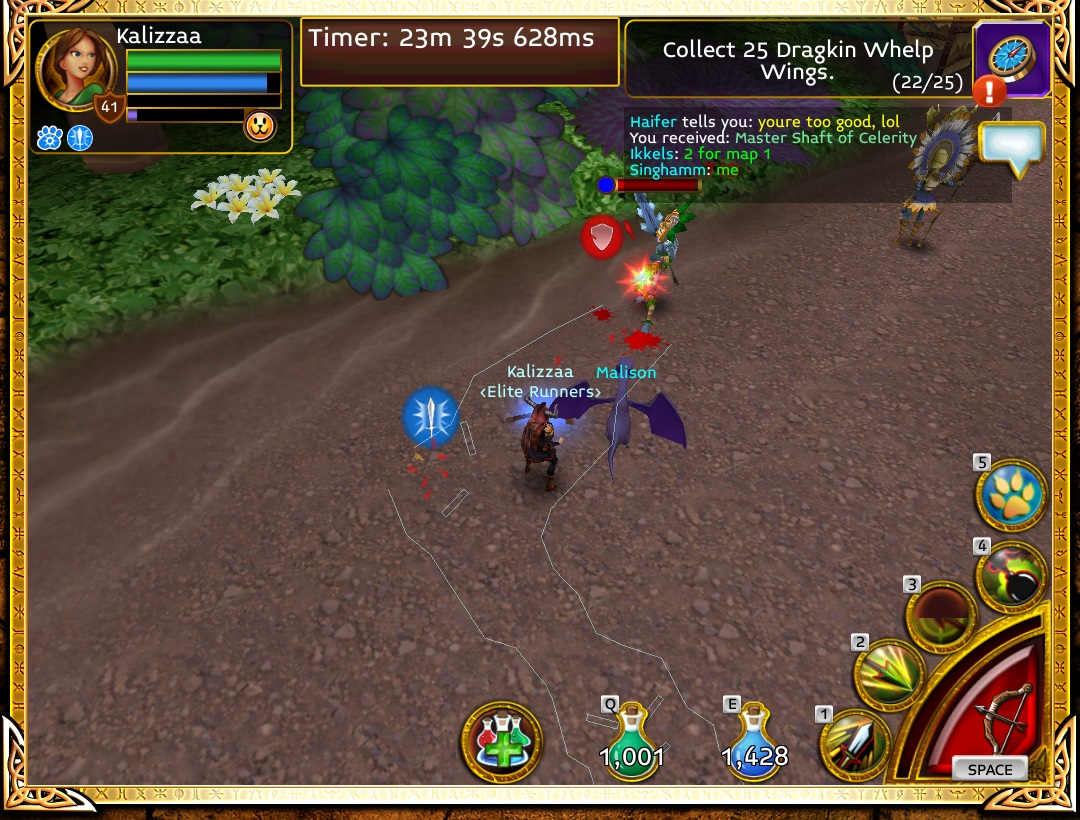
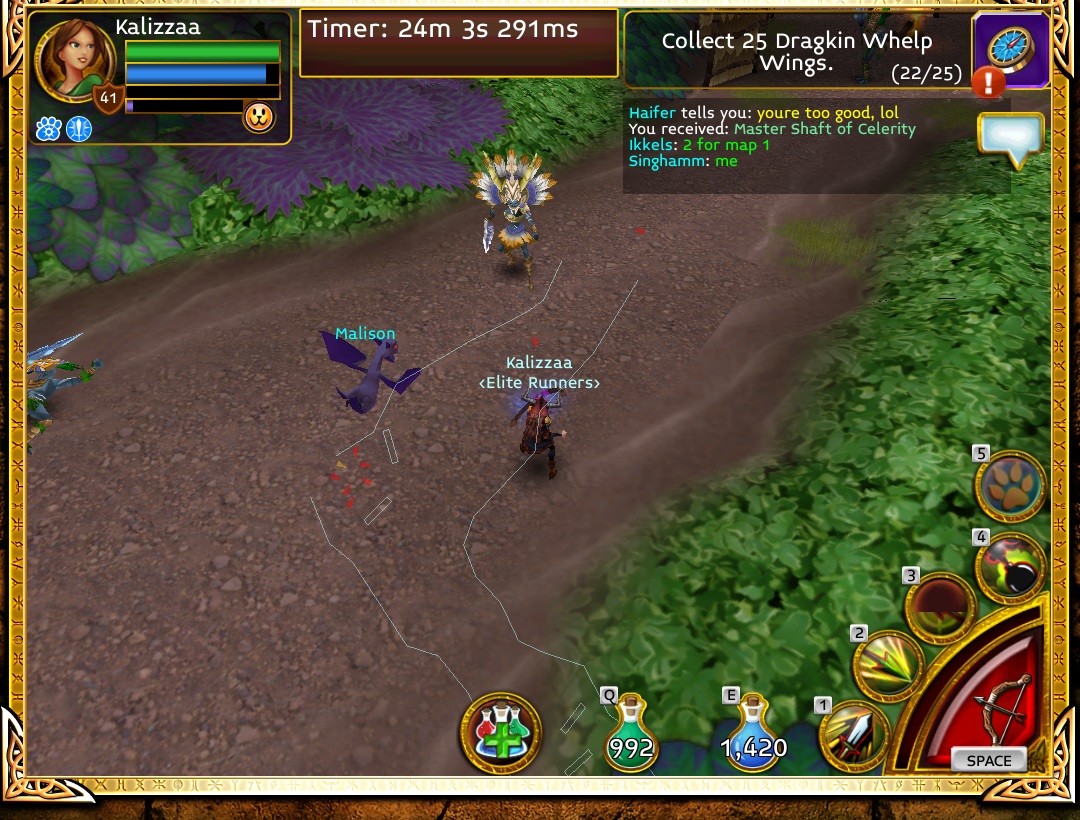
We're coming down the home stretch here. Up ahead is one of the last three single pulls you will be able to manage.
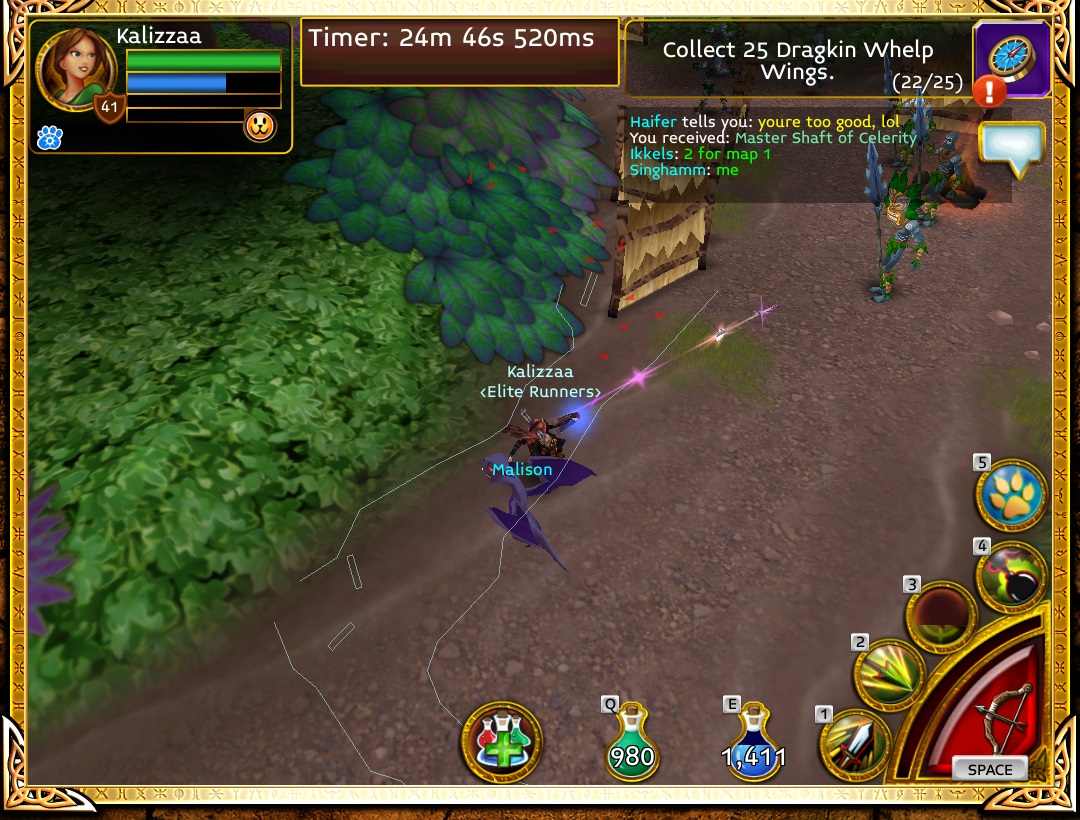
Next up is the group of three remaining. Aggro the entire group and retreat back into the area you just cleared. You want some space to work with so you can strafe then with Nox and let the poison do the bulk of the damage.
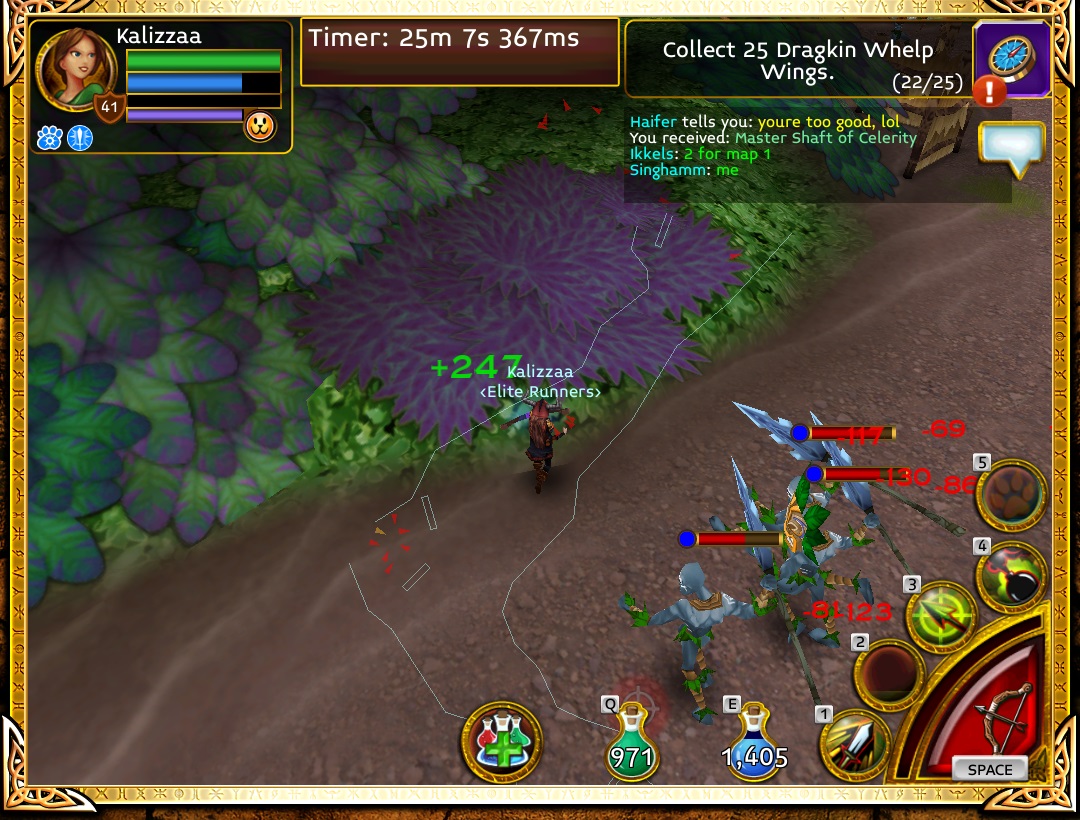
Now, you get to go face to face with the second to last mob that you have to handle. Attack him and retreat back a bit. You do not want to risk accidentally aggroing the mobs ahead or to the left.
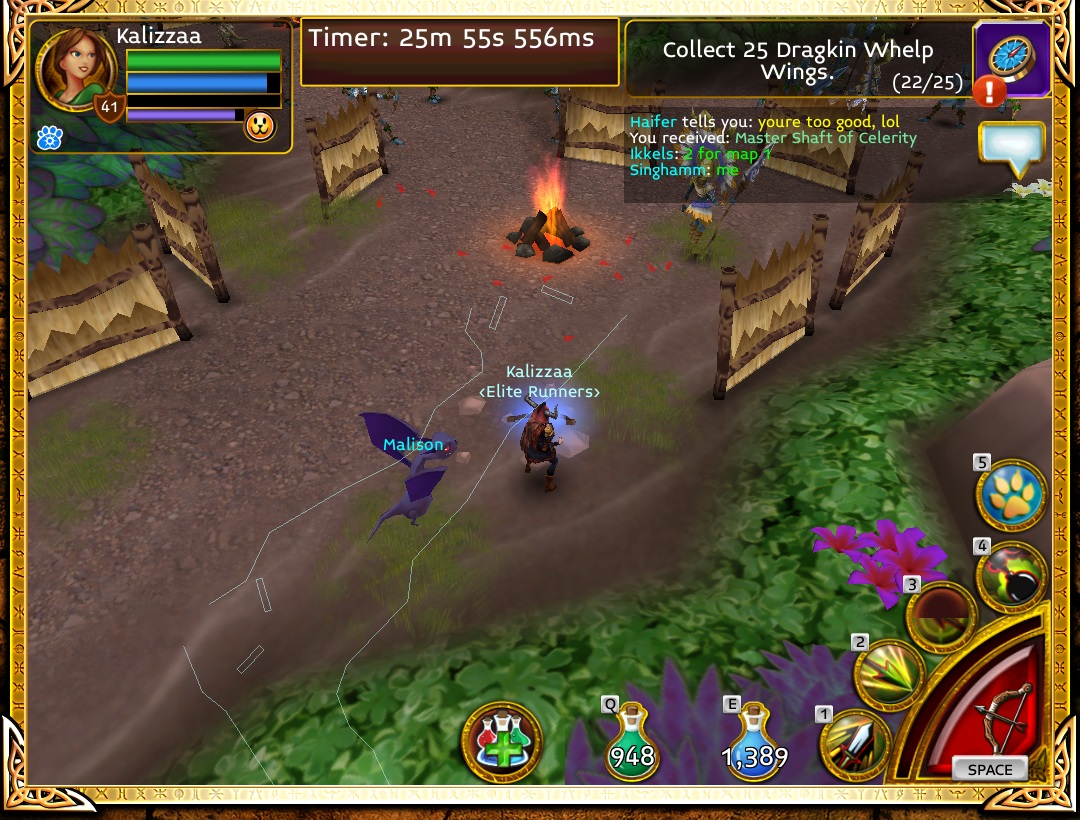
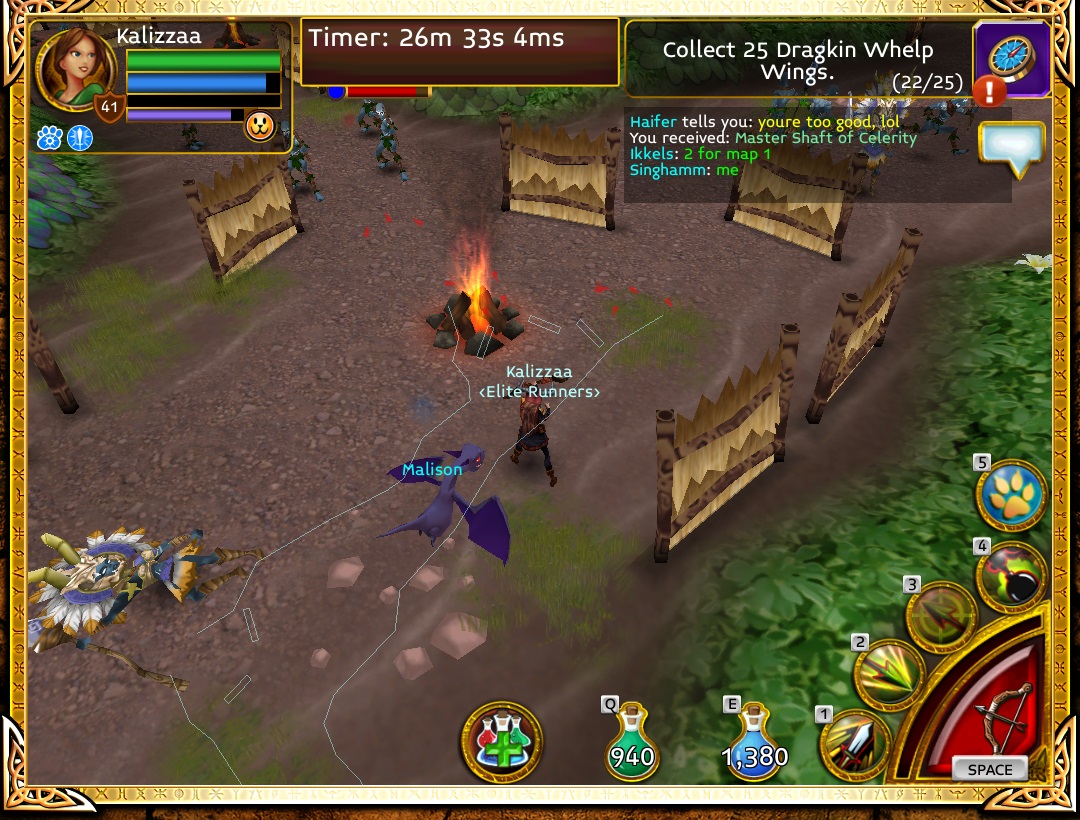
On the left is a cluster of three archers. This can present a challenge, but if you pot, use Malison's Arcane ability and focus your attacks on one archer at a time, you should be able to manage this pull. Remember to retreat back to a cleared area, because you don't want to aggro the fourth archer, as I think it may be more than you could handle.

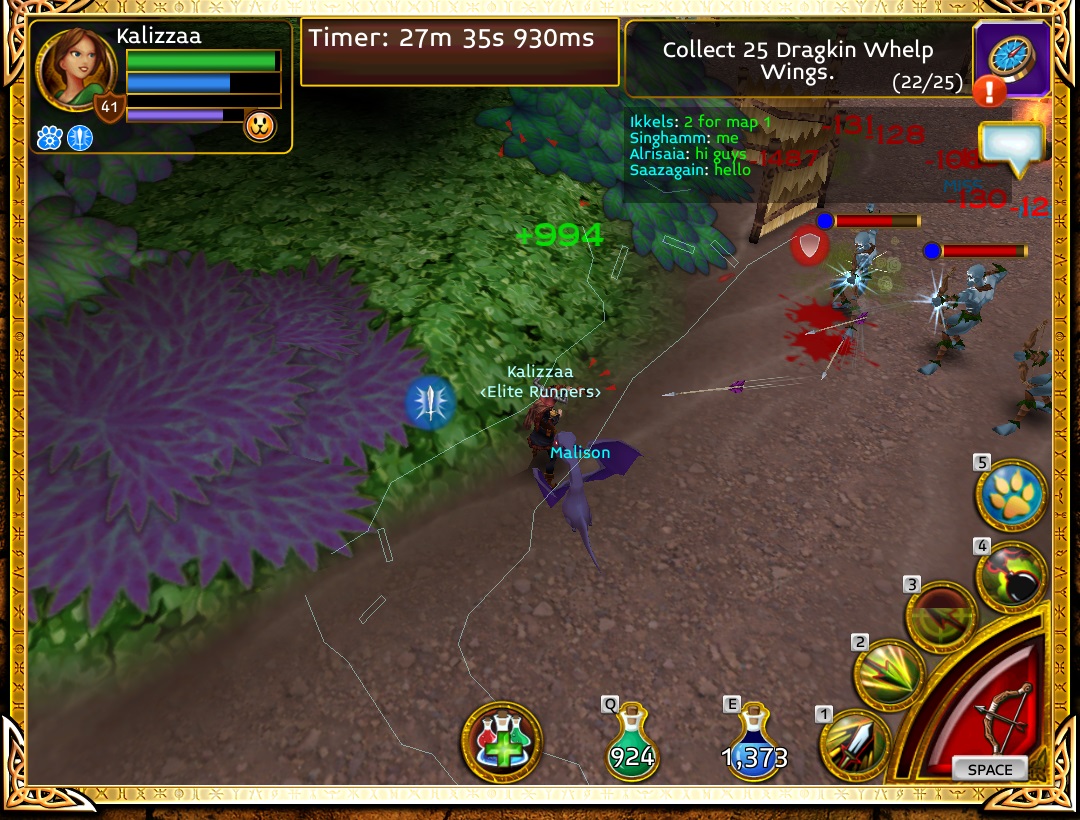
Up ahead is the fourth archer and the final mob pull in this map. Stay at range and draw the archer to you - don't anger the group of whelps behind him!
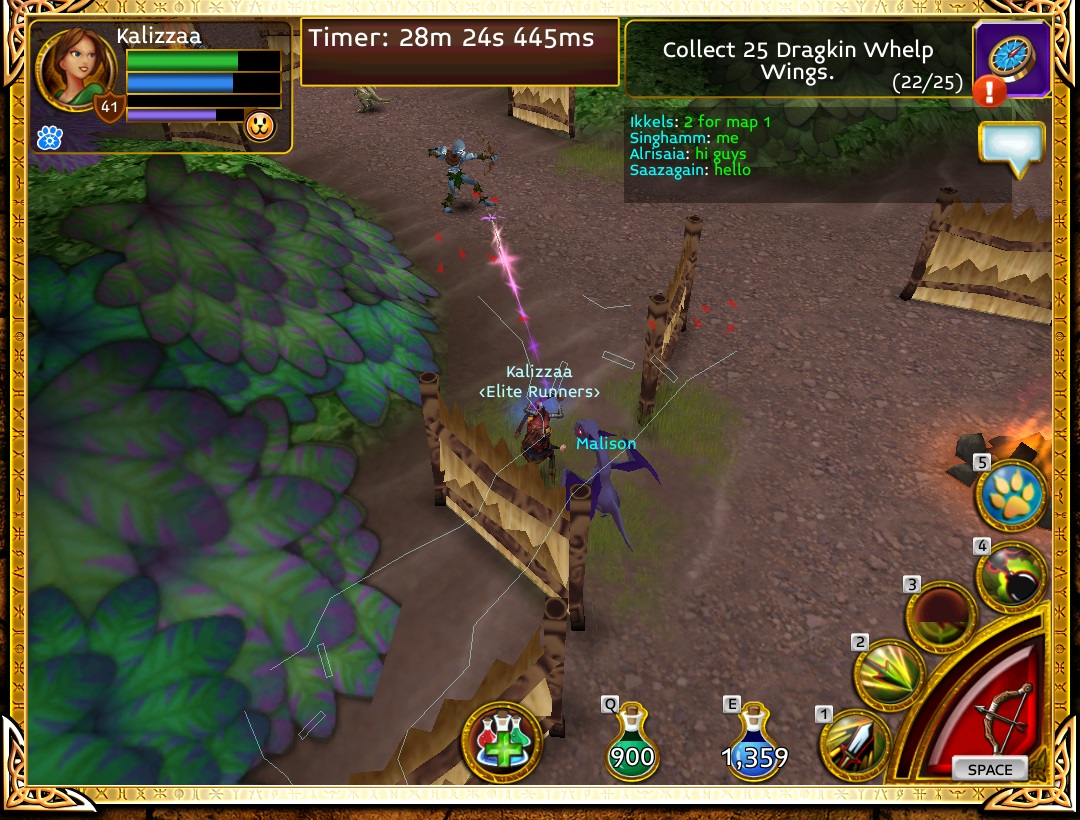
Now, the most challenging part of this map (aside from the bosses themselves). Here, we have to run a gauntlet to get into the boss area. Your best best is to start your run and trigger Mali's arcane ability for the dodge bonus. Speed pets, such as Haze, Scorch, Kettle, Shiloh, etc., are all very useful during this stretch. If you are in a party, stay close to your tank and pray that he uses horn just as you clear the first group of mobs.
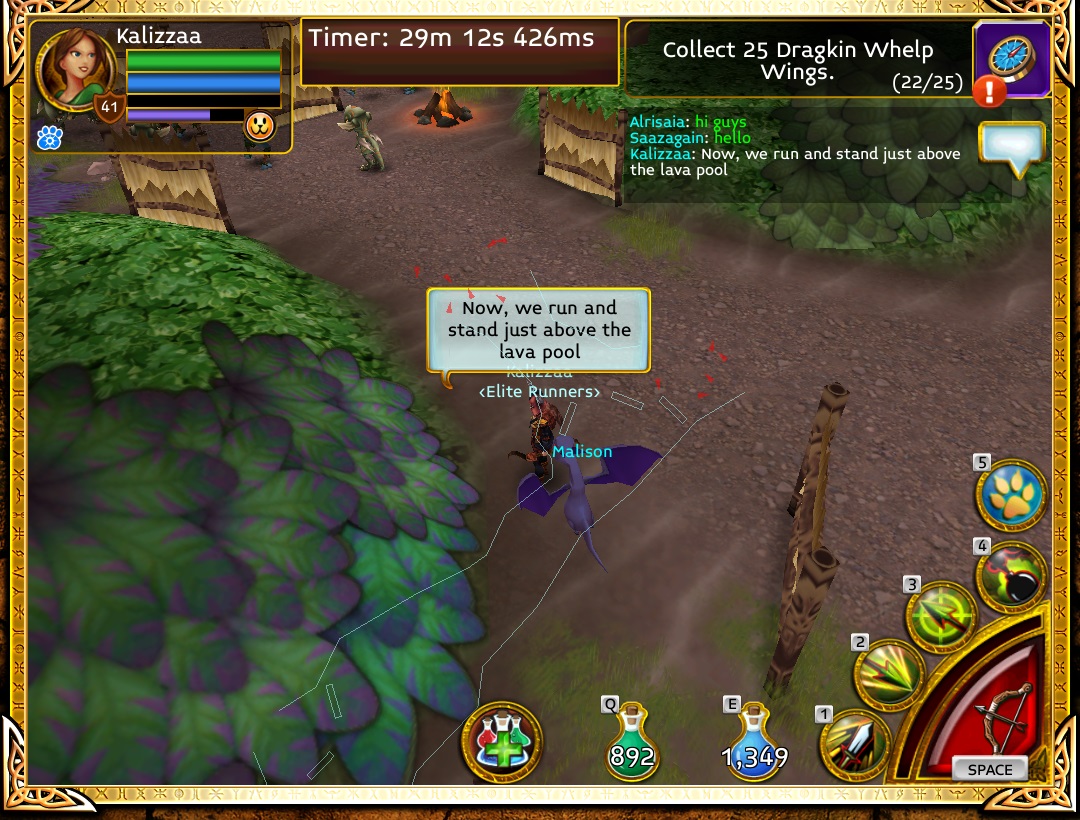
Almost there! Continue straight ahead and hide up by the lava pool.
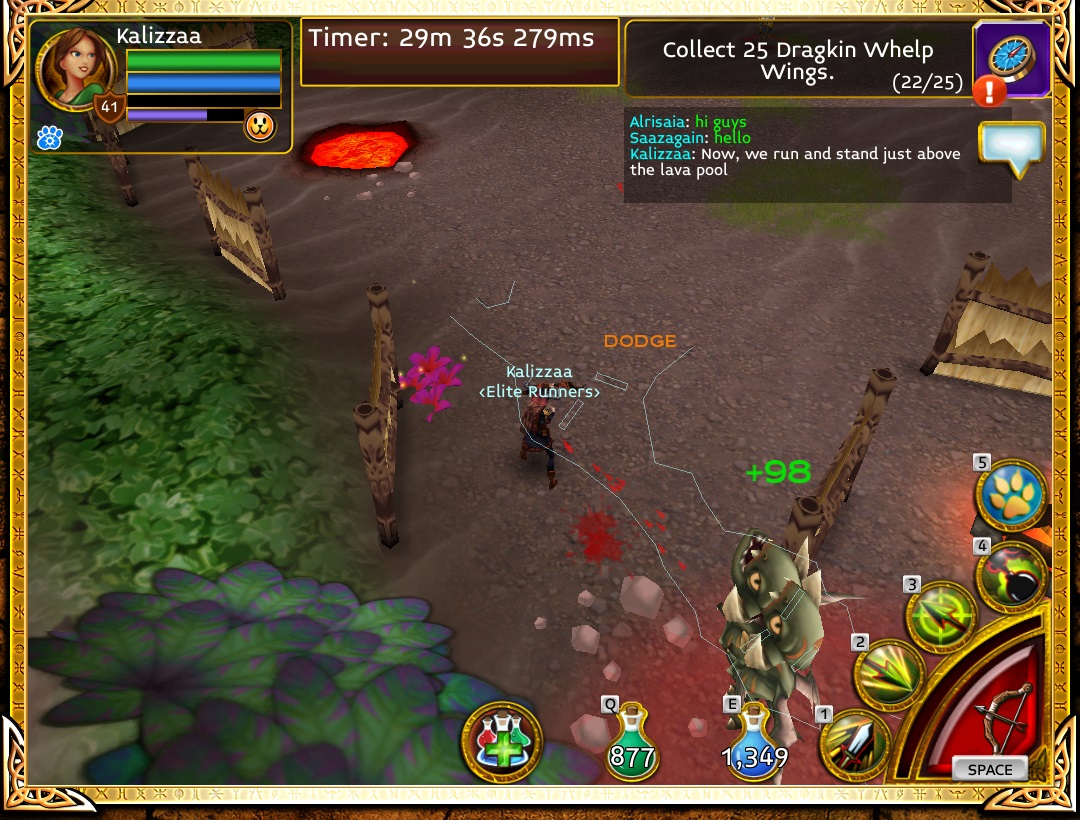
This point here serves as the reset point for almost all of the mobs. Sometimes a shaman decides he wants to stay for a little bit, but if you walk him around the lava pool, he will lose interest and reset.
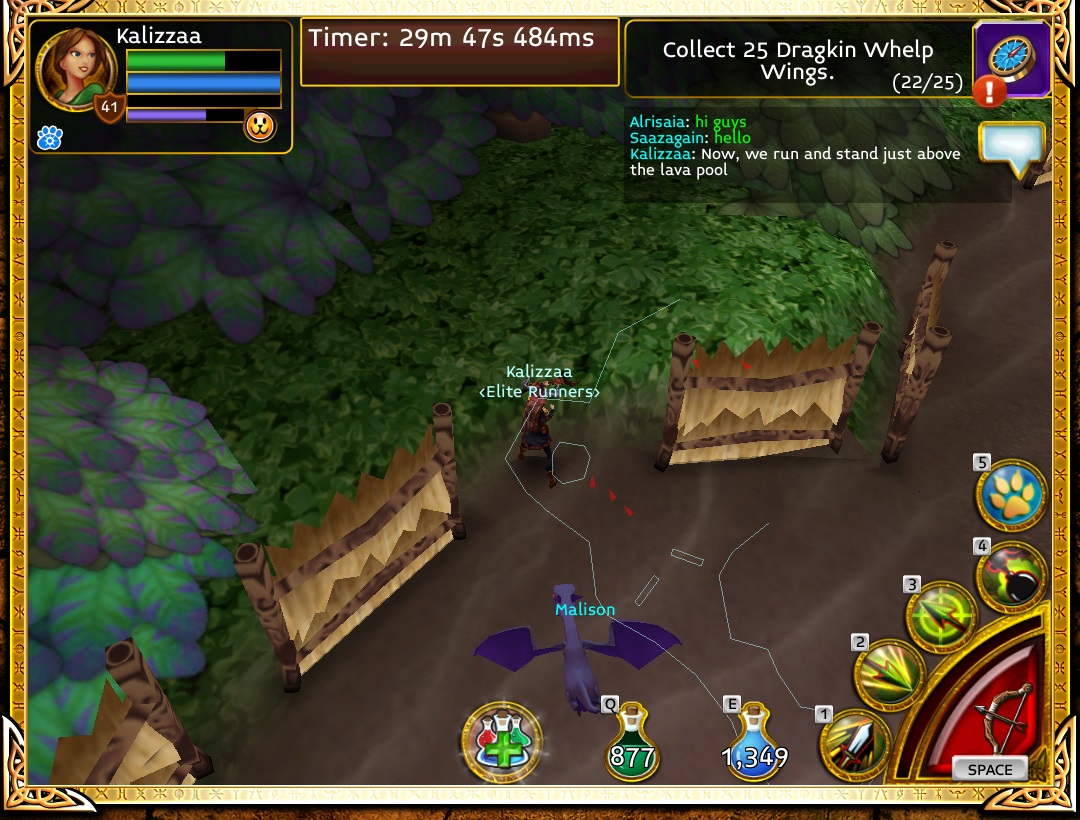
So, here we are. You versus two mini bosses. I find the shaman to be a far greater threat than the troll, so I suggest you focus all of your attacks on him. NEVER get into melee range here. Both bosses are capable of one-hit kills, so keep kiting and fire off charged Aimed Shot and charged Nox. Avoid using pierce for now - it will only get you into trouble.
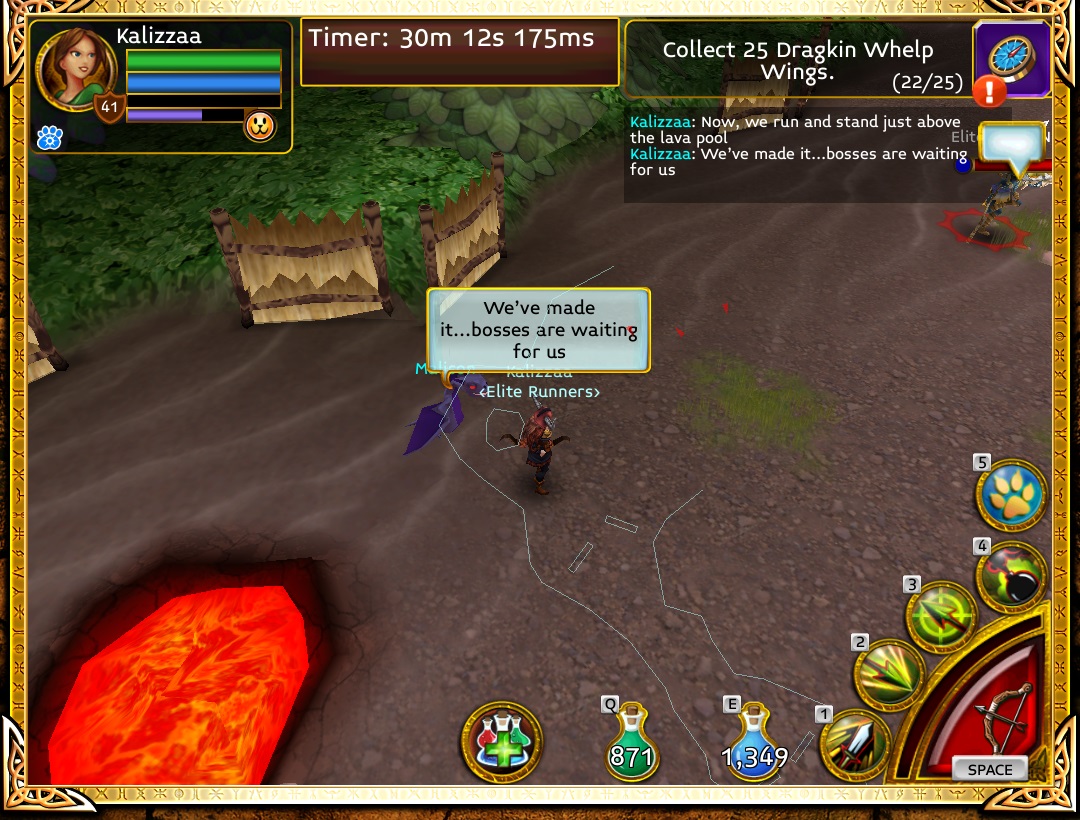
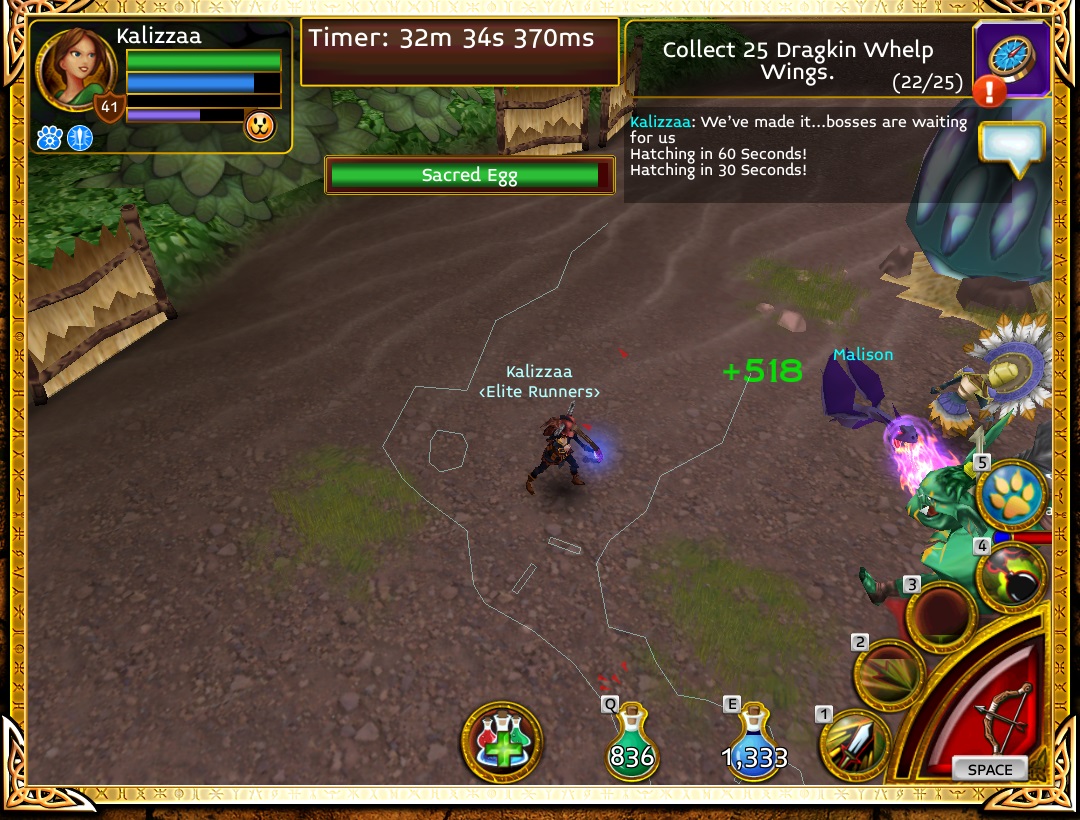
If Drake hatches before you finish off the troll, be aware that if you can keep your fight contained to the fringes by the grass, the dragon doesn't seem to notice you - perhaps he needs glasses and a hearing aid...
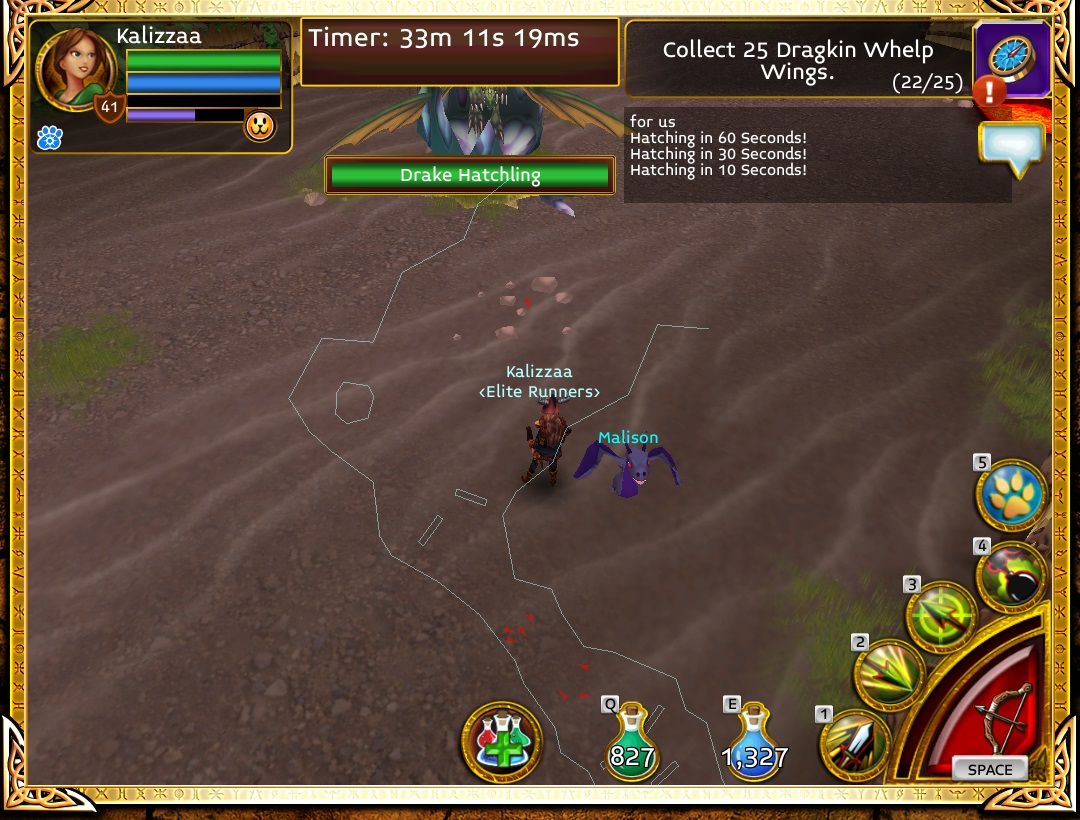
Drake is a relatively easy boss if you stay out of melee range. The only attack that could be difficult to avoid is his 360 degree windup attack. I found the most successful strategy is to keep firing off charged Aimed and Nox while pulling him towards the bottom of the map. Once you get near the grassline (don't go too far, all three bosses could reset!), use a charged Pierce to blast through to the other side, then use charged Aimed and Nox and pull him up. Then, pierce through him and pull him back down once again.
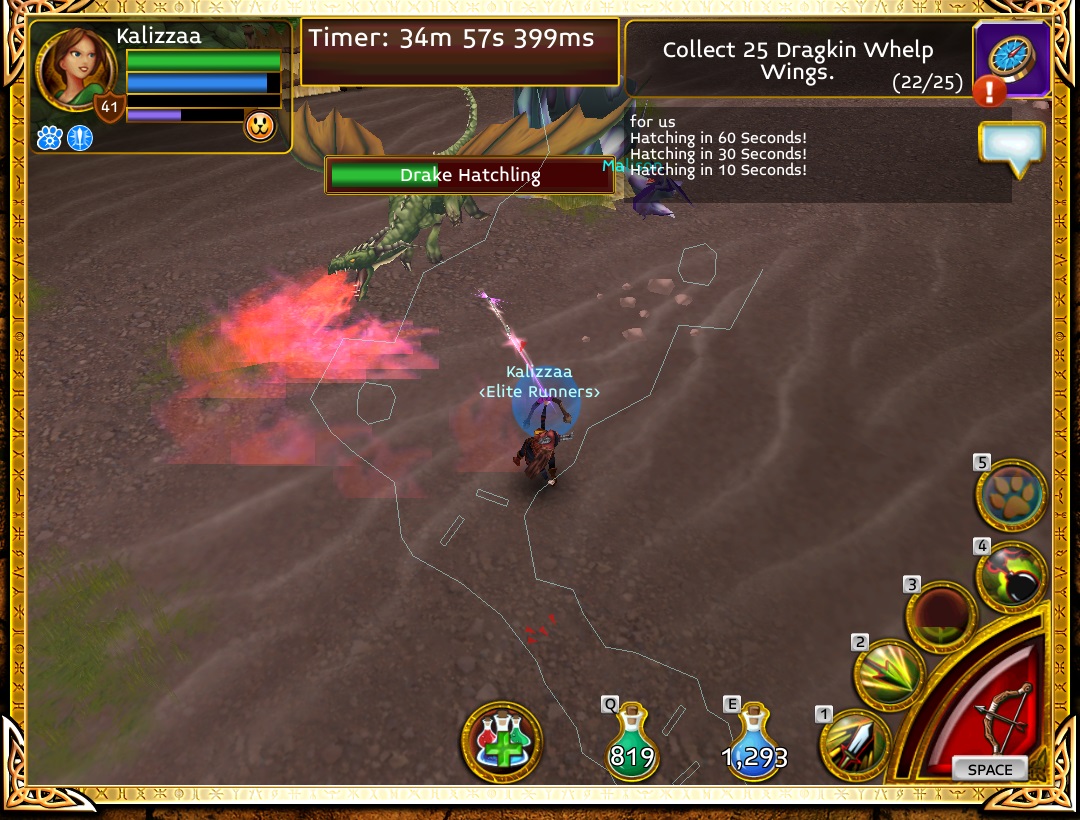
If you like to live dangerously, when Drake does his 360 degree windup attack, you have a second or two where you can switch to your Leprechaun Pendant loadout. Be careful - slow fingers leads to deaths, and unfortunately, I died here with Drake down to less than 10% hp. When you die, the egg and both mini-bosses reset, so I had to go through the fight a second time.
So, there you have it, an easy to do walkthrough using run-of-the-mill crate gear. Good strategies will always make tough maps easier, and this map is no exception. Limit the number of mobs you have to manage through a combination of separation strategies, hook strategies and defensive repositioning. Use your range to pick off mobs one at a time, and exercise some patience to allow for best mob positioning. This map isn't all that difficult if you do it right - and now you know how it's done.
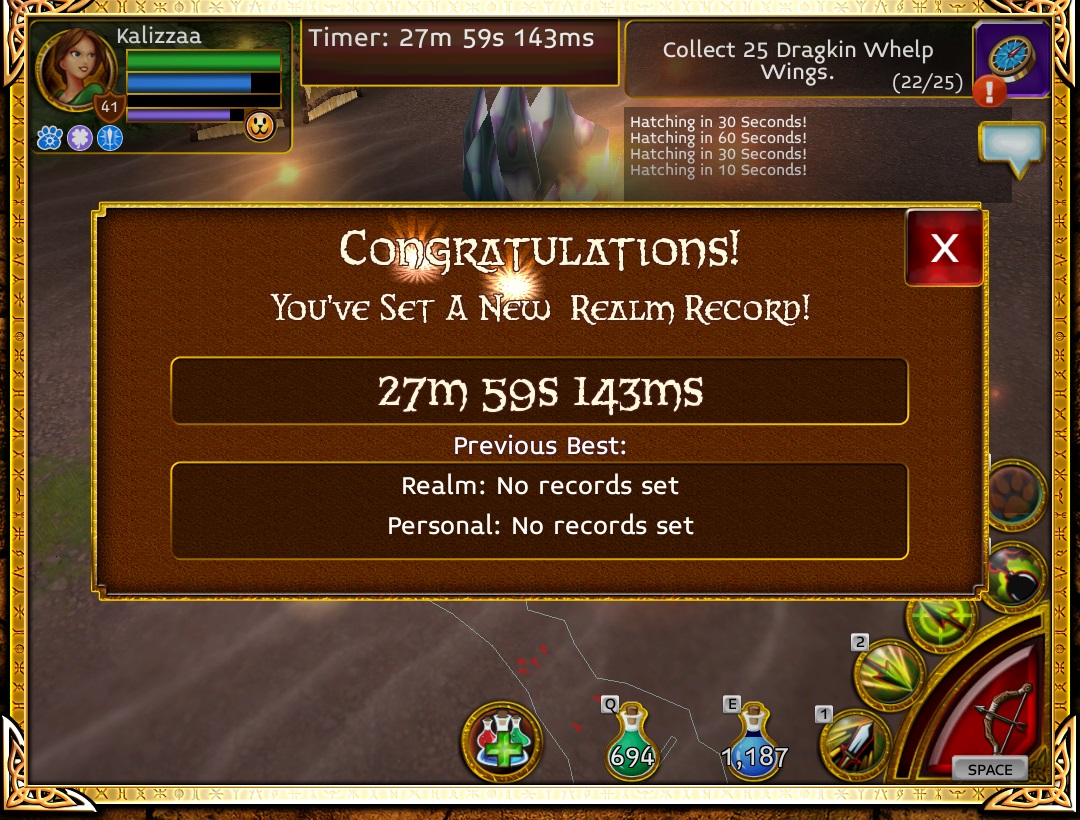
Now, I looted Zucchini Sticks of Celerity here, but perhaps you may get lucky and drop a set of Magma Blades of Brutality - which at current market value, should net you about 1.5 million at acution.
Notes: This was a slow run due to me trying to get copious screenshots to detail the strategy here. I died several times trying to get screenshots while awaiting mob resets, so while you are waiting, it is a good practice to keep potting. Also, during my run, I was trying to crop one of my screenies at the same time, and accidentally hit Ctrl+R, which reloaded the browser and terminated the run when I was more than halfway done. The screenshots in this guide actually come from three separate solo runs; hence the disparity in the timer.
If you found this guide to be useful, I would love to see some solo screenshots of you and your loot. Good luck runners, and may all of your drops be Legendary!
Last edited by GoodSyntax; 10-04-2014 at 08:40 PM.
-
The Following 37 Users Say Thank You to GoodSyntax For This Useful Post:
adhyss, alexdroog, Archerios, ash359, baddiva, Bornof1000Kings, bramer, Chihiro, Classychic, deathwraithx, FluffNStuff, Fyrce, Glasveena, gorcilo, Hectororius, Hhhohstapler, Hiosahaf, Isian, Kreasadriii, megumirei, MoloToha, Omisace, Pandamoni, Pie, radagan, Rare, Rmace, Safiras, Sceazikua, Sheebatheone, Sorcerie, Starkinea, utpal, Uzii, watapak, XIA, Yakiniku
 Posting Permissions
- You may not post new threads
- You may not post replies
- You may not post attachments
- You may not edit your posts
-
Forum Rules


Bookmarks